Don’t bin that pumpkin! Feed the earth instead

Remember, remember, come the first of November,

Halloween brought fun and mirth,

But don’t let that pumpkin

Rot in a wastebin

When it could nourish the earth.

Along with all the tricks and treats, every year Halloween brings horror stories about the millions of pumpkins that end up in landfill or incineration contributing to greenhouse gases.  But it doesn’t have to be that way.

Now is a great time to get composting so your pumpkin waste can go in a compost bin, not a waste bin.

In composting terms pumpkins are nitrogen-rich Greens to balance with carbon-rich Browns. If they have been used as lanterns, you should remove all items used as decoration, such as candles, wax, foil etc. Smash the pumpkins or cut them up into pieces – a larger surface area will attract more composting microorganisms, resulting in faster breakdown. Pumpkins can be smashed with a hammer or spade. We also find the cutters in Halloween lantern carving sets to be useful for cutting the pumpkin into pieces.

Master composter Rod Weston prefers to use the back of a spade as it is ‘quicker, easier, and produces more of an easily composted mush’.

Pumpkins are easier to smash if they have been kept in the warm and have started to rot.

For loads of ideas and tips on different methods of using and composting pumpkins, see ‘Composting Pumpkins’ on www.carryoncomposting.com

Smashing pumpkins

Why not make an occasion of pumpkin disposal and go along to a Pumpkin Smash? These are organised events where people are invited to take their used pumpkin lanterns to be smashed up in a variety of fun ways and then composted, putting nutrients back into the soil.

Check to see if there’s a Pumpkin Smash taking place near you. They’re a great way to teach kids about composting.

If you live in the Leicester area you probably know about the popular Pumpkin Smash at the Stokes Wood Allotments site. These events are usually followed by a practical session on composting pumpkins, including using a Green Johanna composter. People are encouraged to also collect pumpkins from friends, schools or pubs to help reduce waste.

 Let’s hope this great idea catches on and we see more Pumpkin Smashes all over the country.

TIP: If you use battery-powered tealights inside a lantern, the insides will be kept fresh enough to eat later.

SO:

Don’t bin that pumpkin –

It’s better to get a Johanna!

For a happy Halloween ending – get children involved in composting by letting them smash the pumpkin with a hammer and add the pieces to the compost bin, stirring in well together with woody garden waste, autumn leaves or scrunched paper and torn cardboard.

If you’d rather eat your pumpkin – yes, the whole pumpkin – this recipe’s for you.

We got it from Chef Dan at Kitche, the food waste fighting app. We tried and tested it and found it totally delicious.

ZERO WASTE PUMPKIN SOUP

Serves – 4

Time – 1 hr 30 mins

Ingredients

1 medium large pumpkin

3 large onions

3-4 garlic cloves,

Olive oil

1 litre vegetable stock

1 can coconut milk (optional)

Sprig of rosemary

2 bay leaves

Salt and pepper

Method

1. Wash, cut in half and gut your pumpkin, making sure to separate the flesh and seeds.

2. Crush garlic and finely chop the onions and add them to the pan, add oil and simmer until slightly golden.

3. Chop remaining pumpkin into large cubes and add them to a large pan with the pulp.

4. Finely chop your rosemary and add to the pan with your bay leaves, which you can leave whole.

5. Add your veg stock, making sure the ingredients are covered.

6. Add coconut milk if using.

7. Put on lid and let the pan come to the boil. Once bubbling, turn the heat down so the soup is simmering. Sort out the seeds while waiting.

8. The soup will take at least an hour to cook. Make sure the pumpkin skin is soft (this can take a little longer depending on the type of pumpkin).

9. Once it is ready, remember to take out the bay leaves and add salt and pepper to taste. Use a hand blender to make the soup smooth and creamy. Add water if required until it is your desired consistency. Can be stored in the fridge or freezer.

What to do with your pumpkin seeds?

The seeds make a great garnish. Lay them out on a baking tray and lightly salt them. They only take 5 – 10 minutes and burn easily. If you don’t want the seeds on soup, save them till spring and plant them in your garden.

***

 We also like this idea for pumpkin seeds from the organic online store Abel and Cole:

Give seeds a rinse, then toss in a little olive oil, salt and paprika and fry them for 5 minutes until golden brown – a great snack to serve at Halloween parties.

Leaf mould turns autumn leaves into garden gold

If you’re tired of taking bags of autumn leaves to the tip or paying the council to take them away, why not turn them into leaf mould instead?

Leaf mould is a fabulous soil improver that’s produced from decomposed autumn leaves that have been left to rot down. It has similar properties to peat – it helps to rebuild soil and store carbon – but has the benefit of being a renewable resource.

Like compost, it will improve the physical structure of your soil, increasing water retention by around 50 per cent. It also provides a habitat for earthworms and beneficial bacteria.

Making leaf mould was our family’s entry into composting. Our garden is swamped with leaves every autumn as it’s overlooked by several trees.  The cost mounted as we paid the council to take away our bags of raked leaves, so we finally decided to get two 900L Graf Thermo King composters to reap the benefits ourselves. 

What to do with autumn leaves?

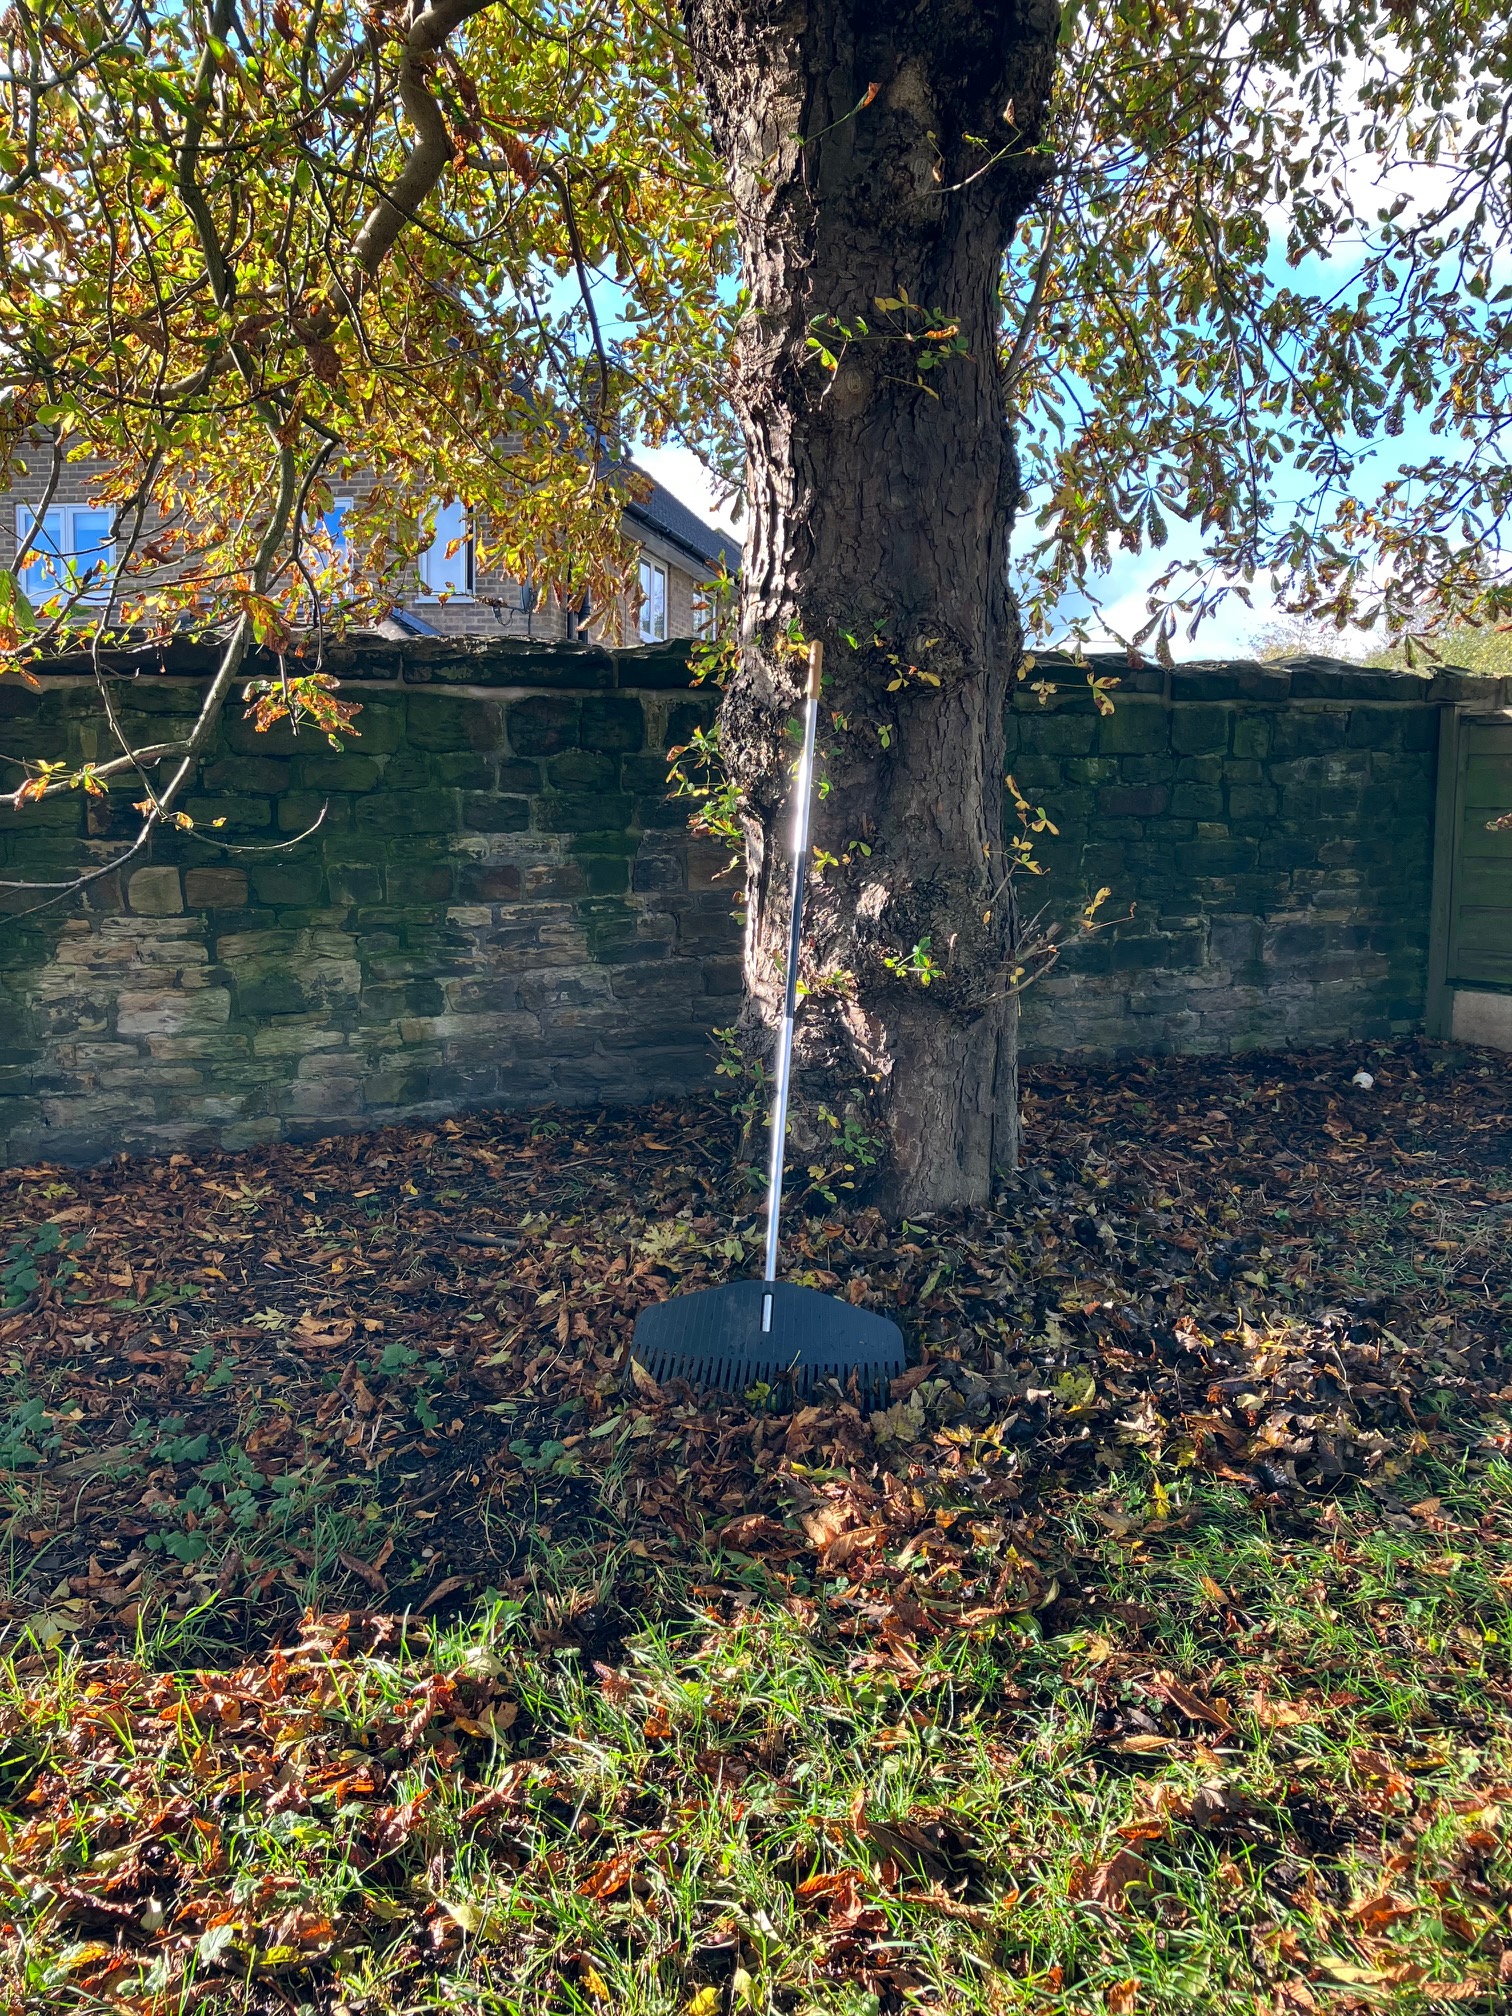
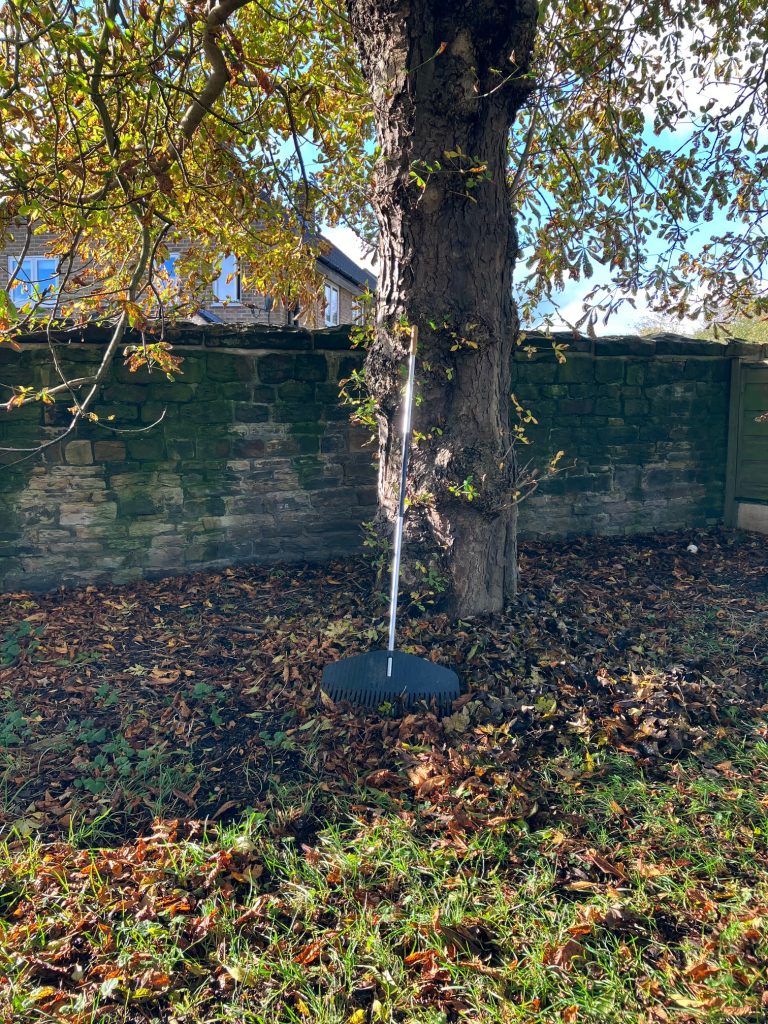
The Royal Horticultural Society encourages gardeners to leave autumn leaves on borders as they encourage worm activity and increase humus content in soil. But leaves have an annoying habit of not staying where they’re put; they tend to team up with the wind to dance around and end up on the lawn or path, and in our case the hallway too.

 So it’s good to keep a balance between the leaves you sweep and the leaves you leave. Leave the leaves on soil and around trees and hedges as they replenish the soil with nutrients as they decompose, providing food throughout winter. Removing leaves can contribute to the slow death of trees from malnutrition. Leaves also protect tree roots from weather extremes.

If the leaves are dry they will blow away so dampen them with rainwater from a water butt to weigh them down a bit.

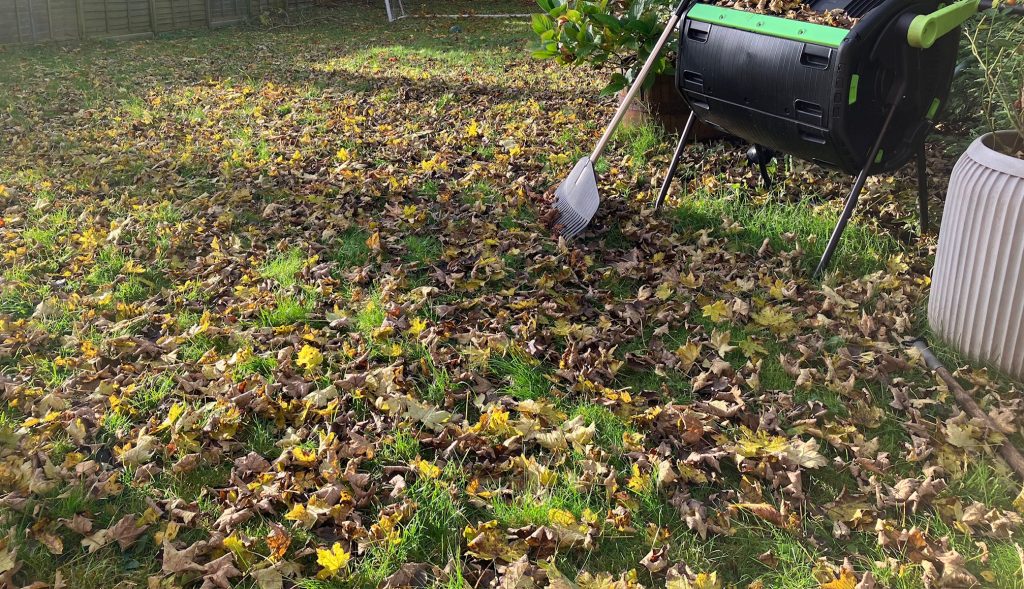
 Although leaves create a habitat for insects and pollinators, too many can attract rats and ticks so don’t let huge piles grow. Rake them off lawns and plants to prevent them smothering growth.

Stockpile for compost

Keep some leaves in storage for your compost bin; stockpile them so you have readily available Browns (carbon) to balance the Greens (nitrogen). Most people find they have a ready supply of food waste providing them with nitrogen-rich content but finding carbon-rich Browns can be harder, especially through winter.

  • Store dry dead leaves in old compost bags or lidded containers next to the compost bin so they’re ready when needed. 
  • You might want to wait until all the leaves have fallen unless you don’t mind a lot of raking.

How to make leaf mould

Making leaf mould is a simple, relatively slow process, relying on the action of fungi rather than the faster heat-generating bacteria of the composting process.

  • To collect the leaves, you can rake them up into a pile or set your mower on a high cut setting and mow them up, using the grass collector added to the back of the mower. This mulches them up for you. You can also use a shredder.
  • Shredding the leaves increases the surface area in contact with microbes, speeding up decomposition. Shredded leaves also take up less space if you don’t have much room to store them and they’re also less likely to mat down in a bin, excluding air from the compost.
  • You can also whizz them up with an edge trimmer in a dustbin (like using a food stick blender) or use a pair of hedge clippers and a board.
  •  Some leaves break down more quickly than others. Evergreen leaves take far longer to rot and should only be added in small quantities.

Storing leaves

The most basic way of storing leaves is to keep them in a black bin bag, pierced at the bottom and sides to allow the contents to breathe.  If the leaves are very dry, moisten them before putting them in the bag. You don’t need to add anything else – just the leaves.

If you prefer a container, the Thermo King compost bins that we use make life simpler because:

  • Two large flaps make it easy to remove compost.
  • The lid allows humid air to escape and is adjustable to summer and winter weather conditions to regulate air circulation.
  • The base allows micro-organisms to enter whilst deterring rodents.

How can I use my leaf mould?

If leaves have been left to rot for two years or more, they can be used in seed-sowing compost or mixed equally with sharp sand, garden compost and soil for use in potting compost. The leaf mould will be dark brown in colour with an earthy smell and crumbly texture, like compost.

  • As mentioned earlier, leaf mould makes great mulch and soil improver, and if less than two years old can be used as autumn top-dressing for lawns or winter-covering for bare soil. Soil needs more winter cover than you might imagine – around 5 – 7cms.

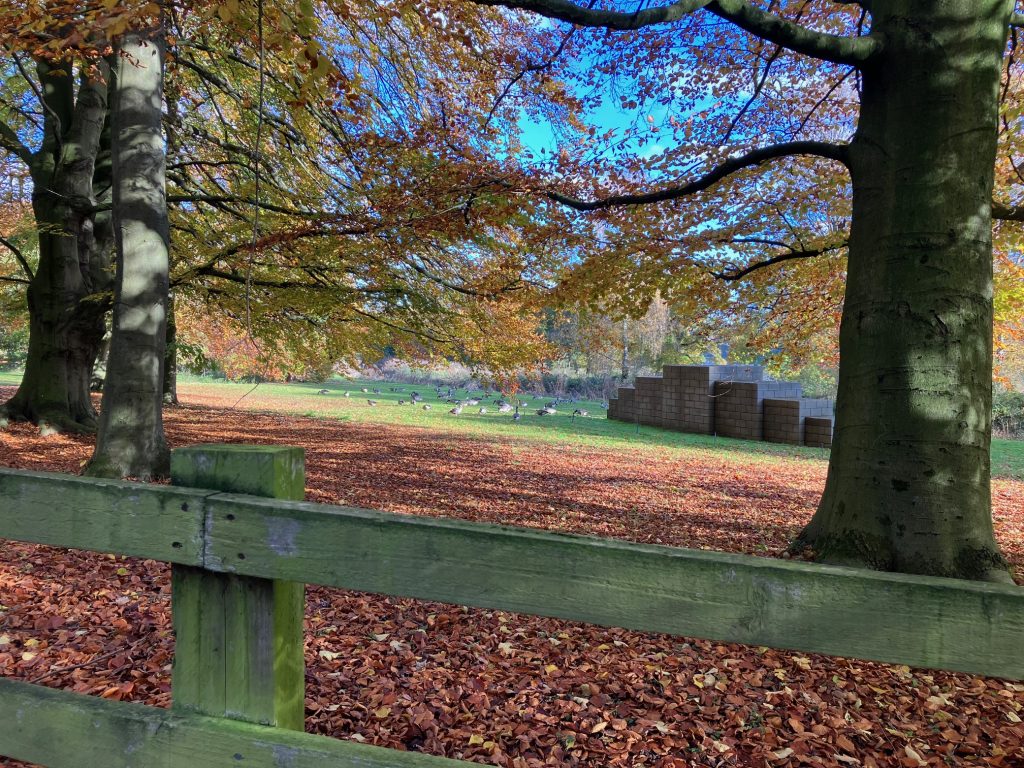
Autumn glory – leaves left around the trees at Yorkshire Sculpture Park, Wakefield.

A clean sweep

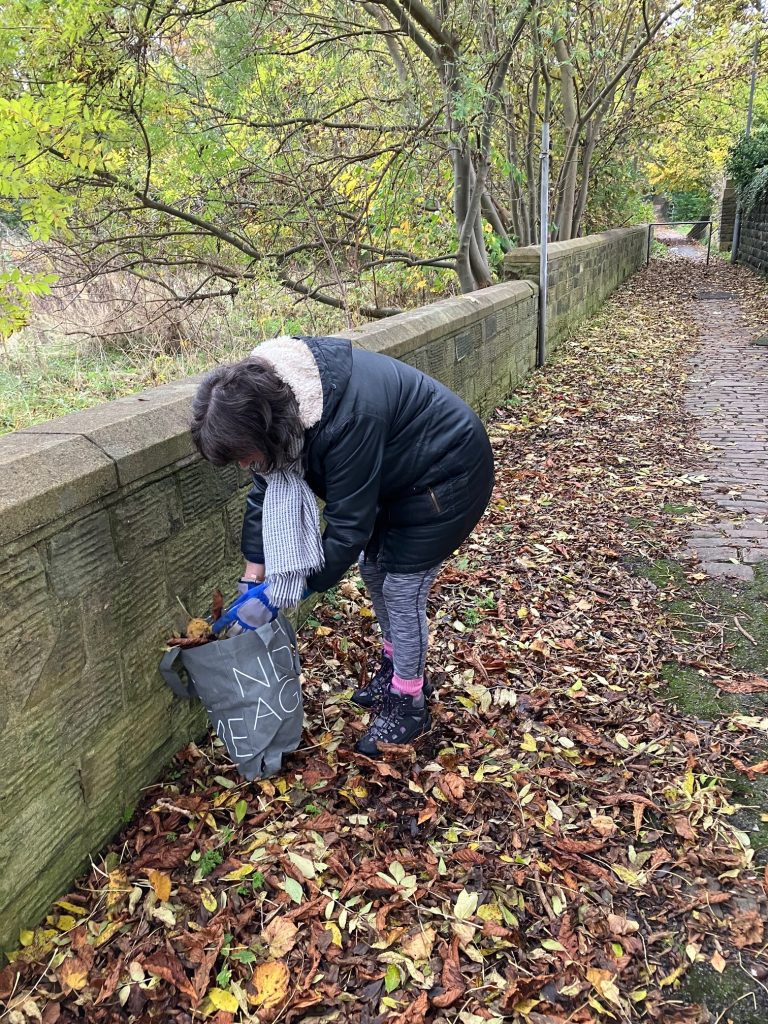
If you can’t bear to see leaves going to waste, why not join the eco-warriors all over the world who sweep pavements in their neighbourhoods to collect leaves for composting? A few words of advice if you do:

  • Don’t sweep busy streets because the leaves could be contaminated with pollution from traffic fumes.
  • Stick to quiet areas or alleyways where there is no traffic so no fumes and no soil/trees needing to be fed over winter. On pathways leaves are wasted, either creating a slip hazard or dispersed by wind and rain. You just need to watch out for hidden dog poo.   

Julie

Why should I compost?

‘I don’t garden so why should I compost?’ This was what a friend said to me recently.

Where to start to answer this question?

Composting is of course an obvious activity for gardeners – you make your own top-quality plant food by recycling your organic waste, including garden waste.

 Like my friend, I too am no gardener.  I started growing a few things during the pandemic and finally realised, when I saw the transforming effect of plants, why gardeners do what they do.   

But the point I tried to make in answering my friend was that it wasn’t for the sake of plants that I started composting but for the sake of the soil itself.

A health soil sign that reads 'Healthy soil is the beating heart of organic growing - full of life and support life'.

 When I learned a few years ago what magical powers compost has in rebuilding the poor, degraded earth of the Earth, I realised that composting was a no-brainer.

The health of our soils is fundamental to life as we know it, but according to the charity Garden Organic, half the planet’s topsoil has been lost in the last 150 years.

And yet there’s something we can all do about it! Home composting might seem a small act on an individual level but multiplied by millions it’s huge.    

Climate crisis ally

For instance, did you know that one of compost’s superpowers is to help soil capture carbon in the atmosphere and pull it down into the ground? Along with oceans and forests, soil is an important carbon storage medium. And yet we’ve been letting the organic ingredients for compost rot in landfill for years, emitting greenhouse gases instead of capturing them. It makes no sense to throw nutrients away as rubbish when we can easily separate them to speed up the natural breakdown process.

 According to WRAP, the waste reduction charity, a home composting bin can divert approximately 150 kg per household per year of organic waste from landfill or treatment centres.

Save our soils

The minimum we can all do is to ensure that soil is not left bare. Bare soil is vulnerable to erosion, weeds and carbon loss.

  • Cover soil with mulch and just leave it. Chuck it on in layers of around 5cms. You can cover borders, around shrubs, trees and bushes. Worms will come up and take the compost back down into the earth where it will improve the soil structure.
  • Compost also helps worms to thrive, and they need all the help they can get, under onslaught as they are from chemical sprays, artificial grass and the paving-over of gardens.    
  • Give your lawn a boost by spreading compost thinly over it. Worms will pull it down into the soil, which will boost soil quality and by extension the grass.

Benefits for us

Michael Kennard (pictured) the founder of the food waste collection service Compost Club, has studied soil biology and is keen to spread the word about how soil is the foundation of our health. If we destroy it, it’s to our detriment.

‘Everything is a reflection of the soil,’ he says. ‘If the plants have that natural cycle going on, they’re really healthy. When we eat those plants, that’s what informs our gut health.’

Other benefits that compost provides include:  

  • preventing erosion
  • improving drainage
  • encouraging worm activity. Studies have shown that the simple act of introducing worms to degraded soil in poor regions of the world has increased plant yields by 280%.
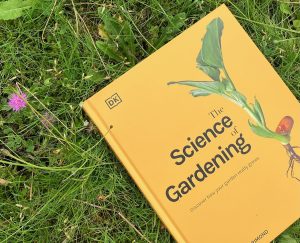
  • preventing flooding. As more and more gardens are paved over there is less and less earth to absorb heavy rainfall. In order to slow down runoff and encourage water infiltration into soil, swap paving for plants and mulch, or ensure paving is permeable. In his book The Science of Gardening, Dr Stu Farrimond says that covering soil with mulches in late autumn protects it from pummelling winter rainfall (each bullet-like drop travels up to 20mph).

Benefits for plants;

Used on plants, compost holds on to important nutrients, improving the plant’s quality while also protecting it from pests and diseases.

 As compost breaks down further, it releases important nutrients into the soil, including the main nutrients that plants need: nitrogen, phosphorous, and potassium. Compost also increases the number and variety of beneficial bacteria and fungi in the soil, which helps plants to grow.

The ability of compost to absorb water is important as it’s able to slowly release water to grass and plants so they need watering less frequently. This is obviously vital in hot weather and droughts. Studies on compost’s water-retaining abilities have shown that for every 1% of organic matter content, soil can hold 16,500 gallons of plant-available water per acre of soil down to one foot deep.

Compost also helps water to get to plant roots more effectively by reducing crust forming on soil, so water can get into the soil more easily, and by helping to disperse water laterally from where it hits the ground, which means it will evaporate less quickly.

But I don’t have time to compost

Composting can be as time-consuming as you want to make it. If you’re pushed for time, go for cold composting.  If you want to invest a bit more time and effort, try hot composting, which means a wider variety of food waste can be added to the bin and compost produced faster.  

Or use bokashi bins, which ferment food waste thanks to the addition of beneficial bacteria in the form of a bran or spray. Once it has been left to ferment for a couple of weeks, this pre-compost mixture can then be added to a composter.

People whose local council operates a food waste collection might think, Well the council composts my food waste, so I don’t have to. But many people take the view that if they are already separating food waste to leave out for the council to collect, they might as well compost this valuable resource themselves at home for the benefit of their own garden or allotment.

 By 2026 all councils throughout the UK will have to comply with regulations requiring them to operate separate food waste collections.  

There are around 15 million gardens in the UK. We call them ‘our’ gardens but of course that portion of the earth isn’t really ours – we’re merely its custodians for a while.

Once you see the difference you can make to that tiny patch of the planet, without much effort, you can’t help but become a compost convert.

Julie

When is my compost ready to use?

This was a question that two new owners of a Green Johanna were asking themselves in their first year of composting. 

Adam and Hayley decided to try composting with a Johanna last year following a few failed attempts with other composters.

They’re both vegans and wanted to produce their own compost to use for growing their own veg, as well as recycling their food and garden waste sustainably.   

  The standard test for when compost is ready for use is that it is dark brown in colour, crumbly in texture and has a pleasant, earthy smell like damp woodland. If you’ve been hot composting, the mature compost will no longer be generating heat. The original materials should not be recognisable. There may be a few items that have not fully broken down, such as sticks, bits of tea bags, corncobs, eggshells, fruit stones, compostable bags – these can be picked out and added back into the next batch of composting material.

 If there are other recognisable waste items and an unpleasant smell, the compost is not ready and should be left to continue breaking down.

Master composter Rod Weston, in his book A Gardener’s Guide to Composting Techniques, suggests a test to check if compost is ready if you are wanting to add it to soil immediately (immature compost added to soil can cause a temporary reduction in the availability of nitrogen and oxygen and create root-inhibiting organic acids).

The test involves putting a handful of compost in a plastic bag and sealing it for three days at room temperature. If when opened the contents have a pleasant earthy smell, composting is complete.

 Rod suggests that during the growing season immature compost is best used as surface mulch. If mostly composted it will finish breaking down in the soil. In autumn and winter it can be dug into garden beds. Some people prefer to leave their compost breaking down over winter to have it ready for the start of a new growing season. 

Horticulturalist and author Charles Dowding encourages a relaxed approach to the final product. In his No-Dig Children’s Gardening Book (also a good read for adults) he says that mature compost can be anything from ‘slightly lumpy and fibrous to quite fine and soft’. It all depends on the materials that went into making it and they will all decompose at different rates.

‘It doesn’t need to look perfect – woody bits in your compost make great food for fungi.’

He cautions against sieving compost as it can damage microbes.

What’s the difference between compost and humus?

The term compost describes materials that are still breaking down whereas humus is what’s left when breakdown is no longer taking place and the usable chemicals in the organic matter have been extracted by the micro-organisms.

It takes years for compost to decompose into a humus state. Even mature compost isn’t really ‘finished’ since bugs and fungi still have material to work on. Some gardeners have a bank of composters and leave the final one to break down completely into humus.  

A bumper crop

Adam and Hayley decided to leave their compost for about a year so they could use it in a compost mix for growing potatoes.

With first-time use of a Green Johanna, it can take 6-8 months for compost to be ready for use. After that, depending on conditions, it’s usually 4-6 months. With regular cold composting it’s usually between 6 months to 2 years.

Great compost accelerator

The couple also used a bokashi bin alongside their Johanna.  The pre-compost that a bokashi bin produces makes an excellent compost accelerator, raising temperature and speeding up decomposition. Fermented bokashi mixture is usually quite wet so needs to be balanced with plenty of carbon-rich materials. The bokashi mixture will then break down in the composter. 

 ‘Bokashi has become a really useful part of our composting process,’ said Adam. ‘We put all our food waste straight into the bin and give it a few sprays of Bokashi spray, then once it’s full and has been left to ferment we transfer it to the Johanna.’

It usually takes them around one to two weeks to fill the Bokashi bin with their kitchen waste, which is usually vegetable scraps along with some beans. They then use their smaller kitchen caddy to take food waste to the Johanna while the Bokashi bin is ‘doing its thing’.

Food waste provides the compost mix with nitrogen-rich content, which must be balanced with shredded carbon-rich materials (dead leaves, twigs, branches, wood chips, paper waste) and regularly aerated to get oxygen into the pile.

The verdict on the Johanna:

With previous composting attempts, the couple had experienced slow breakdown of waste materials with hardly any compost produced.  

 ‘The Johanna is much better built and works faster at breaking down all the waste,’ said Adam.

The couple feel their efforts with the Johanna and Bokashi have paid off – not only are they recycling all their food and garden waste nature’s way, but they also get to make their own delicious home-grown spuds. What’s not to like? 

Grow your garden the organic way

An image of a bird feeding station

The wonderful thing about Garden Organic’s demonstration gardens is that they’re not a rarefied retreat for green-fingered types, they’re for absolutely everyone.

We had the pleasure of meeting up with a team from Garden Organic at their base in Coventry last week.

The charity promotes organic growing and composting to help everybody to garden using natural methods. As Dave from GO said to us, ‘We want to make organic gardening easy and attainable for anybody.’

The gardens are a treat for the senses with an abundance of colour and inspiration everywhere, not to mention the delicious earthy aroma of healthy soil.

It’s a place of quiet creativity and observation, with the volunteers who are so essential to the charity going about their activities peacefully in the background.

Dave checks in on the bugs in a composter observation panel

If you live in the area, we can guarantee you will be inspired by the guided tours and workshops and the tips you pick up from the experts.

 The gardens are also home to the Heritage Seed Library, which maintains the national collection of heritage vegetables and shares seeds with members.   

If a visit isn’t possible, check out GO’s website and their webinars, which feature useful Q&A sessions in the chat at the end so you can anonymously ask any questions that have been bugging you.

  You can also find out whether one of their 11 compost demonstration projects in the UK is near you. Don’t worry if there isn’t one yet; many more are in the pipeline.

Everyday gardeners

The charity began life in 1958 when Laurence D Hills founded the Henry Doubleday Research Association. He called on ‘everyday’ gardeners to take part in trials to build understanding of best organic growing practices. This form of research is termed ‘citizen science’ and plays an important role in modern research.

In the years that followed, the charity became known as Garden Organic and has continued to develop understanding about organic growing through research and practical application and sharing this knowledge with gardeners at home.

With 20,000 members, it’s a movement of citizens playing their part in supporting the nature on their doorstep.

Our team returned to our own doorsteps with more knowledge and inspiration for our own gardens, be it growing comfrey ‘Bocking 14’ to make natural compost activator, or succulents on a shed roof. And who wouldn’t want to create tunnels for hedgehogs and mini rainwater ponds for wildlife?

Everything you see there has a purpose in promoting life – be it soil, plant, animal or human. It’s also interesting and lovely to look at, which is a balm for the mind and soul.     

Growing comfrey Bocking 14

Compost activator is made by placing comfrey leaves in drainpipe sections and collecting the liquid that is produced

Rainwater runs off into a mini wildlife pond

A home-made wooden composter features a tunnel for hedgehogs

Succulents growing on a roof

A volunteer checks up on the chickpeas

Follow Garden Organic’s four main methods to build perfect soil

  • Add compost and other bulky organic materials – this not only adds nutrients but also helps create a good structure for plant roots to penetrate.
  • Minimise digging to avoid disturbing the complex soil life.
  • Plan your planting to make best use of the soil’s nutrients and to avoid build-up of pests and diseases.
  • Grow certain plants, such as green manures, which hold nutrients in the soil and can help suppress weeds. (Green manures are living mulches grown to benefit soil fertility and structure.)

A structure that creates a woody wonderland for wildlife

Pots of colour

Which composter is best for me?

An image of a green johanna

If you’re new to composting it can be difficult to know which bin (or system, if you like to think in systems rather than bins) is best for your home and lifestyle. Our handy guide can help.

Food waste composter/digester

The Green Johanna Hot Composter and Green Cone Food Waste Digester are both designed to accept foods that regular garden composters don’t, such as cooked food, meat, fish and dairy, so all your food waste can go in together. Compare them to see which one best suits your needs.

Green Johanna Hot Composter

  • Produces compost.
  • Also accepts garden waste.
  • Added waste should be a balance of nitrogen-rich content, commonly called Greens, (food waste/fresh grass cuttings/fresh green leaves) and carbon-rich content, commonly called Browns (chopped branches and twigs/wood chips/dead leaves/shredded paper and cardboard).
  • Comes with aerator stick provided to aerate the contents regularly.
  •  Ideally placed on soil or grass
  • One Johanna accepts the average food waste of a household of five and the garden waste from an average-sized garden.
  • With hot composting techniques, higher temperatures are reached than with regular composting.

Green Cone Food Waste Digester

  • Must be dug into a hole in free-draining soil (not clay or chalk).
  • Accepts all food waste, even bones.
  • Doesn’t accept garden waste or paper waste.
  • Doesn’t produce compost – instead it produces nutritious water which drains from its underground basket and feeds surrounding soil.
  • No turning or stirring required.
  • Uses solar energy so requires a sunny spot.
  • Comes with kitchen caddy provided.

Compost Tumbler (by Maze) 180 litre/245 litre

  • Takes kitchen waste and garden waste. Accepts cooked waste if chopped up into small pieces and mixed in well with other waste.
  • Cylindrical rotation design makes turning compost easy. Instead of manually stirring you turn the ratchet handle. The geared ratchet automatically locks rotation in any position.
  • Two compartments mean non-stop composting – when the first compartment is full you start on the second.
  • Can be hardstanding.
  • A cart is available so that finished compost can be removed and wheeled where you want it in the garden.

Traditional Garden Compost Bins

  • Usually used for cold composting at low temperatures.
  • Only take raw fruit and veg scraps, garden waste and paper/cardboard.
  • Require a 50/50 mix of nitrogen-rich Greens and carbon-rich Browns.
  • Available in plastic or wood. Plastic bins tend to be more robust but wood may be preferred for a natural look. 

Lack of space?

Worm farms

Worm farms, also called wormeries, are ideal for small-scale composting and for introducing children to the fascinating world of worms, which is an education in itself.

  • Require a sheltered spot.
  • Worms will digest many kinds of foods cut up into small pieces and other kitchen waste such as shredded paper, egg cartons, scrunched up newspaper.
  • A little management is needed to maintain the ideal environment for your worms, so be sure to read the instruction booklet.
  • Produce excellent worm-made compost – vermicompost – for your garden.
  • Learning fascinating facts about these tiny eco-heroes is sure to turn children into composters of the future.

Bokashi Bins

14 litre Maze Bokashi Bin
  • Kitchen food waste bins that can sit on a worktop or under a sink and accept all chopped-up food waste.
  • Food waste is fermented, resulting in a pre-compost mixture which can be added to a compost bin or wormery, buried in soil in the garden or in large planters in order to break down into compost.
  • Requires the addition of friendly bacteria in a bran or spray to accelerate fermentation.
  • When full of food waste, the container is left sealed for two to three weeks for fermentation to take place anaerobically (without air).
  • Nutritious liquid is drained from a tap at the bottom of the bin and can be used diluted as plant fertiliser or concentrated as organic drain cleaner.
  • Bokashi comes from the Japanese term for ‘fermented organic matter’.

Choosing a compost bin – by the experts

This advice – taken from a webinar by master composters from Garden Organic – provides extra help.

Wooden bins – a sustainable material – cheaper – allows the pile to breathe – looks natural and attractive in the garden – don’t add meat, fish, dairy or cooked food due to lower temperatures – a few bins can be placed together, with one or two left to mature while one keeps working.  

Blackwall compost converter – the most common bin – affordable – long-lasting – made from recycled plastic – useful for getting compost out (the bin can be lifted up and removed like a jelly mould) – a base plate is available but an added deterrent to rodents can also be achieved by digging the composter slightly into the ground and putting a  wire mesh under the base – channels of air can be created by plunging a broom handle into the contents.

Green Johanna – reaches higher temperatures – as an enclosed unit it offers greater rodent protection – the twistable top controls ventilation – the solid perforated base means liquid can drain out and micro-organisms can enter – if adding meat, add small amounts, mixed with lots of greens and browns – aerate the top layer every time you add materials – for speedier composting an insulating jacket is available. An alternative way of taking compost out, rather than accessing through the hatches, is to loosen the screws and lift off one or two sections.  Composting slows down in winter but the Johanna continues well and does better than other composters.

HOTBIN – versatile, takes all food waste and also perennial weeds – produces compost quickly – useful in school gardens – contains air channels – needs woodchips as a bulking agent – has a hard surface to discourage rats nesting underneath – requires more attention – more expensive but versatile.  

Wormery – small and self-contained – ideal for small amounts of waste – year-round composting – can be indoors – worms eat the bacteria on the organic matter – no spicy foods or citrus, only small amounts of meat – food scraps are placed on the top section, casts fall to the bottom. Use the worm-made compost on pot plants or round trees and shrubs. NOTE: If the liquid that is produced smells bad it has gone anaerobic and should be flushed away.

Also:

  • Wormery compost is a great improver to shop-bought compost; you can buy the cheapest of composts but turn it into black gold with the addition of your vermicompost.
  • Sheds are not a good place to house a wormery due to temperature fluctuations – a garage or indoors is better.
  • If you need your worms to move out of way as you harvest casts, add melon or banana – worms love these and will obligingly wriggle over to them.  
  • Don’t forget that with a wormery you are responsible for living creatures.

Bokashi bin – ferments waste instead of composting so the contents need to be transferred to a composter after a couple of weeks – this pre-compost  acts as an activator in your compost bin – Bokashi bran is needed – fermented contents of the bin will still be recognisable (some people expect compost) – produces liquid which can be used as a drain cleaner or diluted as fertiliser – good to use two bins to keep the process going – ongoing bran purchase required.

Tumblers – compost is kept off the ground so rodents are deterred.   

Electric kitchen composters – these grind waste as opposed to composting it.

Ridan – giant tumblers with a cog and gear system that makes the handle easier to turn – popular in schools and businesses.

Taking compost from the Green Johanna


At Great Green Systems we’re always keen to share our and our customers’ experiences of composting with the Green Johanna. This weekend we opened up a Green Johanna that we have been trialling with great results.

This Green Johanna was used from mid-September 2022 to mid-February 2023 with the insulating jacket permanently installed.
100% of the cooked and uncooked food waste from this household was recycled in the Johanna. There were between 2 and 4 people in the household during this time, with up to four more visiting through the Christmas and New Year period. The amount of waste diverted to the residual (grey/black) wheeled bin fell to less than 50% of the bin capacity (ie less than 120 litres) per fortnight compared to previous usage. Over the Christmas period, when bin collections were suspended for a week, the residual bin comfortably coped with three weeks’ worth of general waste.
The fermented contents of several 14-litre Bokashi bins that were accepted from relatives who don’t have their own compost bin were also decanted into the Green Johanna.
The food waste was liberally mixed with carbon-based materials, mainly autumn leaves and wood chips, and treated once per month with Bokashi bran to accelerate the composting process.
Using this method, we consistently achieved compost temperatures of 30-60 degrees Celsius even through the coldest winter temperatures. All the food waste generated from the household was comfortably accommodated by the composting system.

Saving the top section to go back into the compost bin

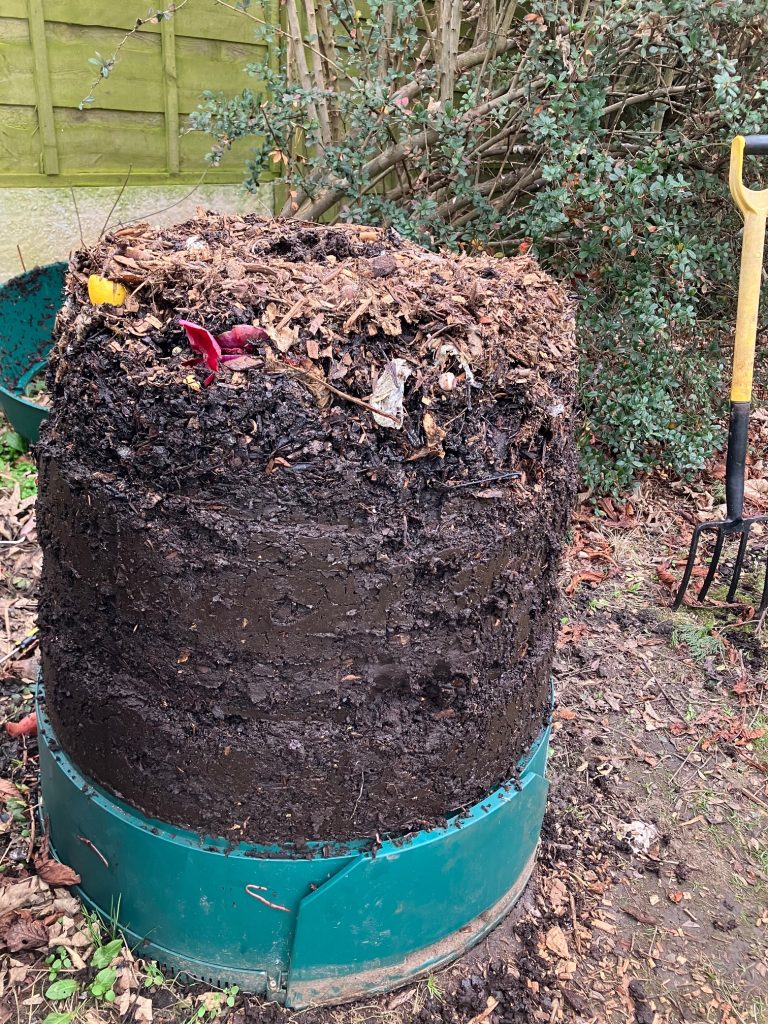
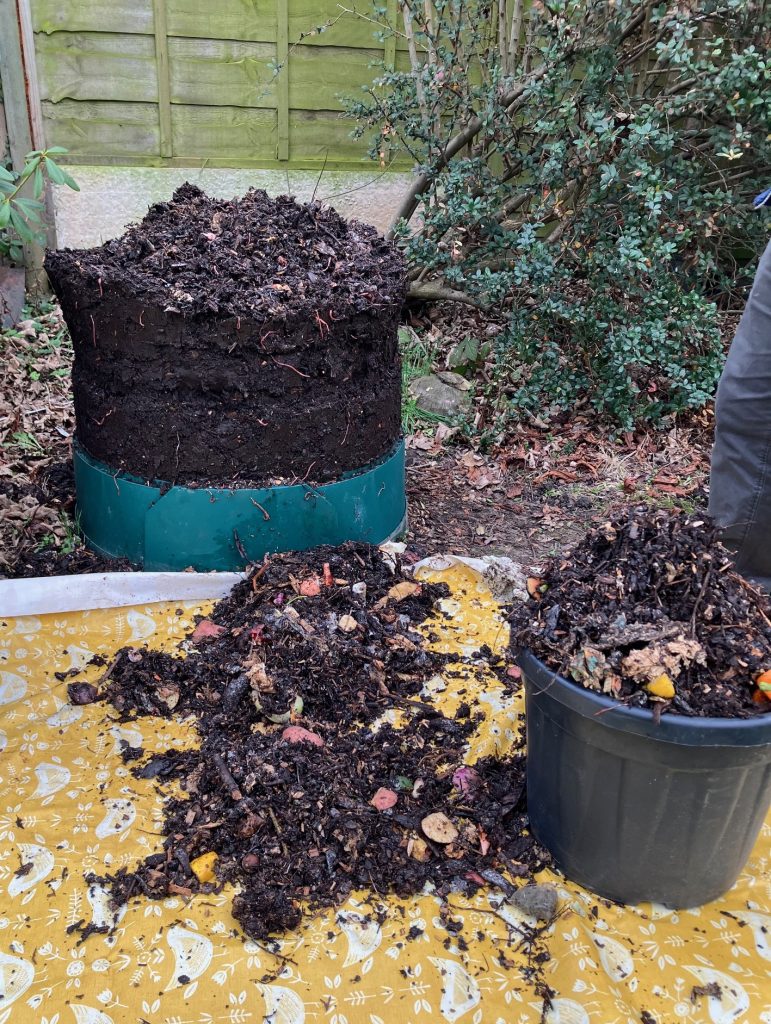
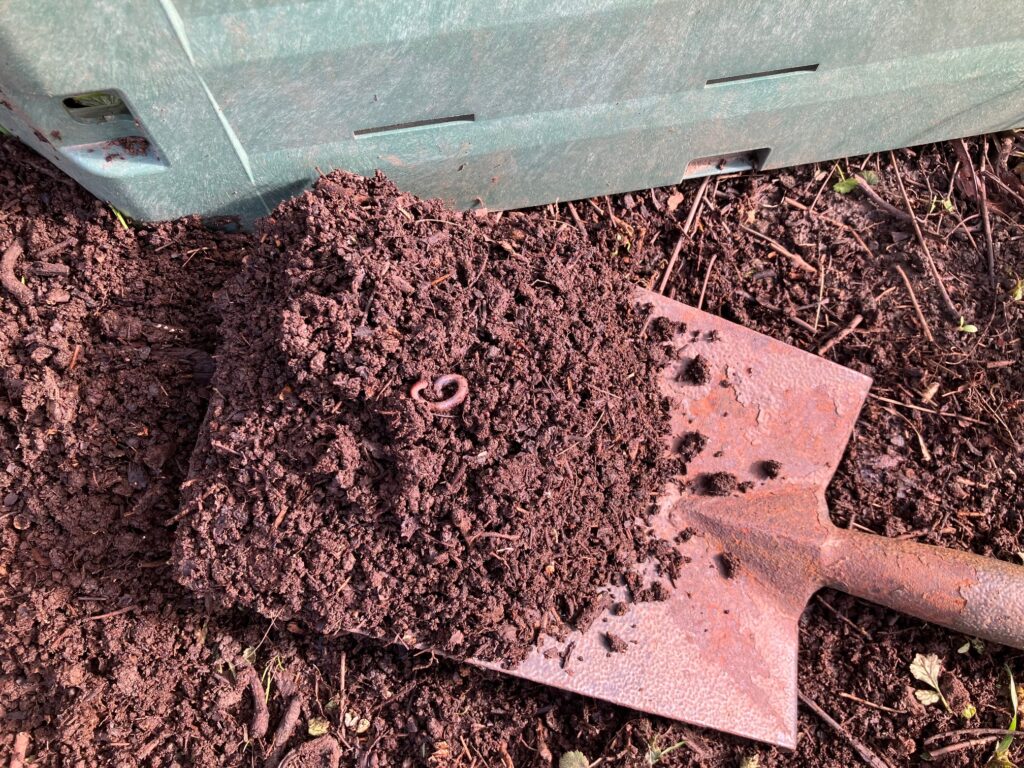
Compost can be accessed by unscrewing the hatches at the bottom or, since the Green Johanna is a modular unit made up of circular rings, the upper sections can be removed leaving an impressive tower of compost. As you can see from the photos, we chose the second route as we wanted to take a lot of compost out at once.
We removed the top sections of compost that are currently decomposing (taking care not to squash any worms) and placed these on an old wipe-clean tablecloth kept for this purpose until we were ready to put them back in the bin to continue the breakdown process.
More than half of the composter contents were removed for soil replenishment and other garden uses, with the remainder being returned to the Johanna for further composting.

Topping up planters with compost

To purchase a Green Johanna Complete Bundle, including Insulating Jacket, click here:
Green Johanna Complete Bundle – Great Green Systems
To upgrade your existing Green Johanna with an Insulating Jacket or Complete Accessory Set, click here:
Green Johanna Insulating Jacket – Great Green Systems
Green Johanna Accessory SetGreen Johanna Accessory Set – Great Green Systems

Spare Parts