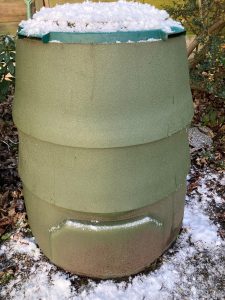
This is the time compost fans have been waiting for. At Great Green Systems we leave our compost ‘cooking’ for two grand occasions a year – April and October – for the Spring and Autumn retrieval of mature compost from the Green Johanna.
If you’re a first-time user of a Johanna, we recommend waiting 6-8 months before taking your compost out. After that, depending on conditions, 4-6 months should be fine.
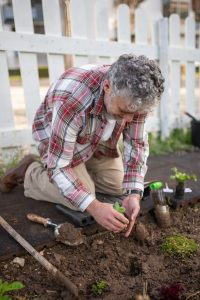
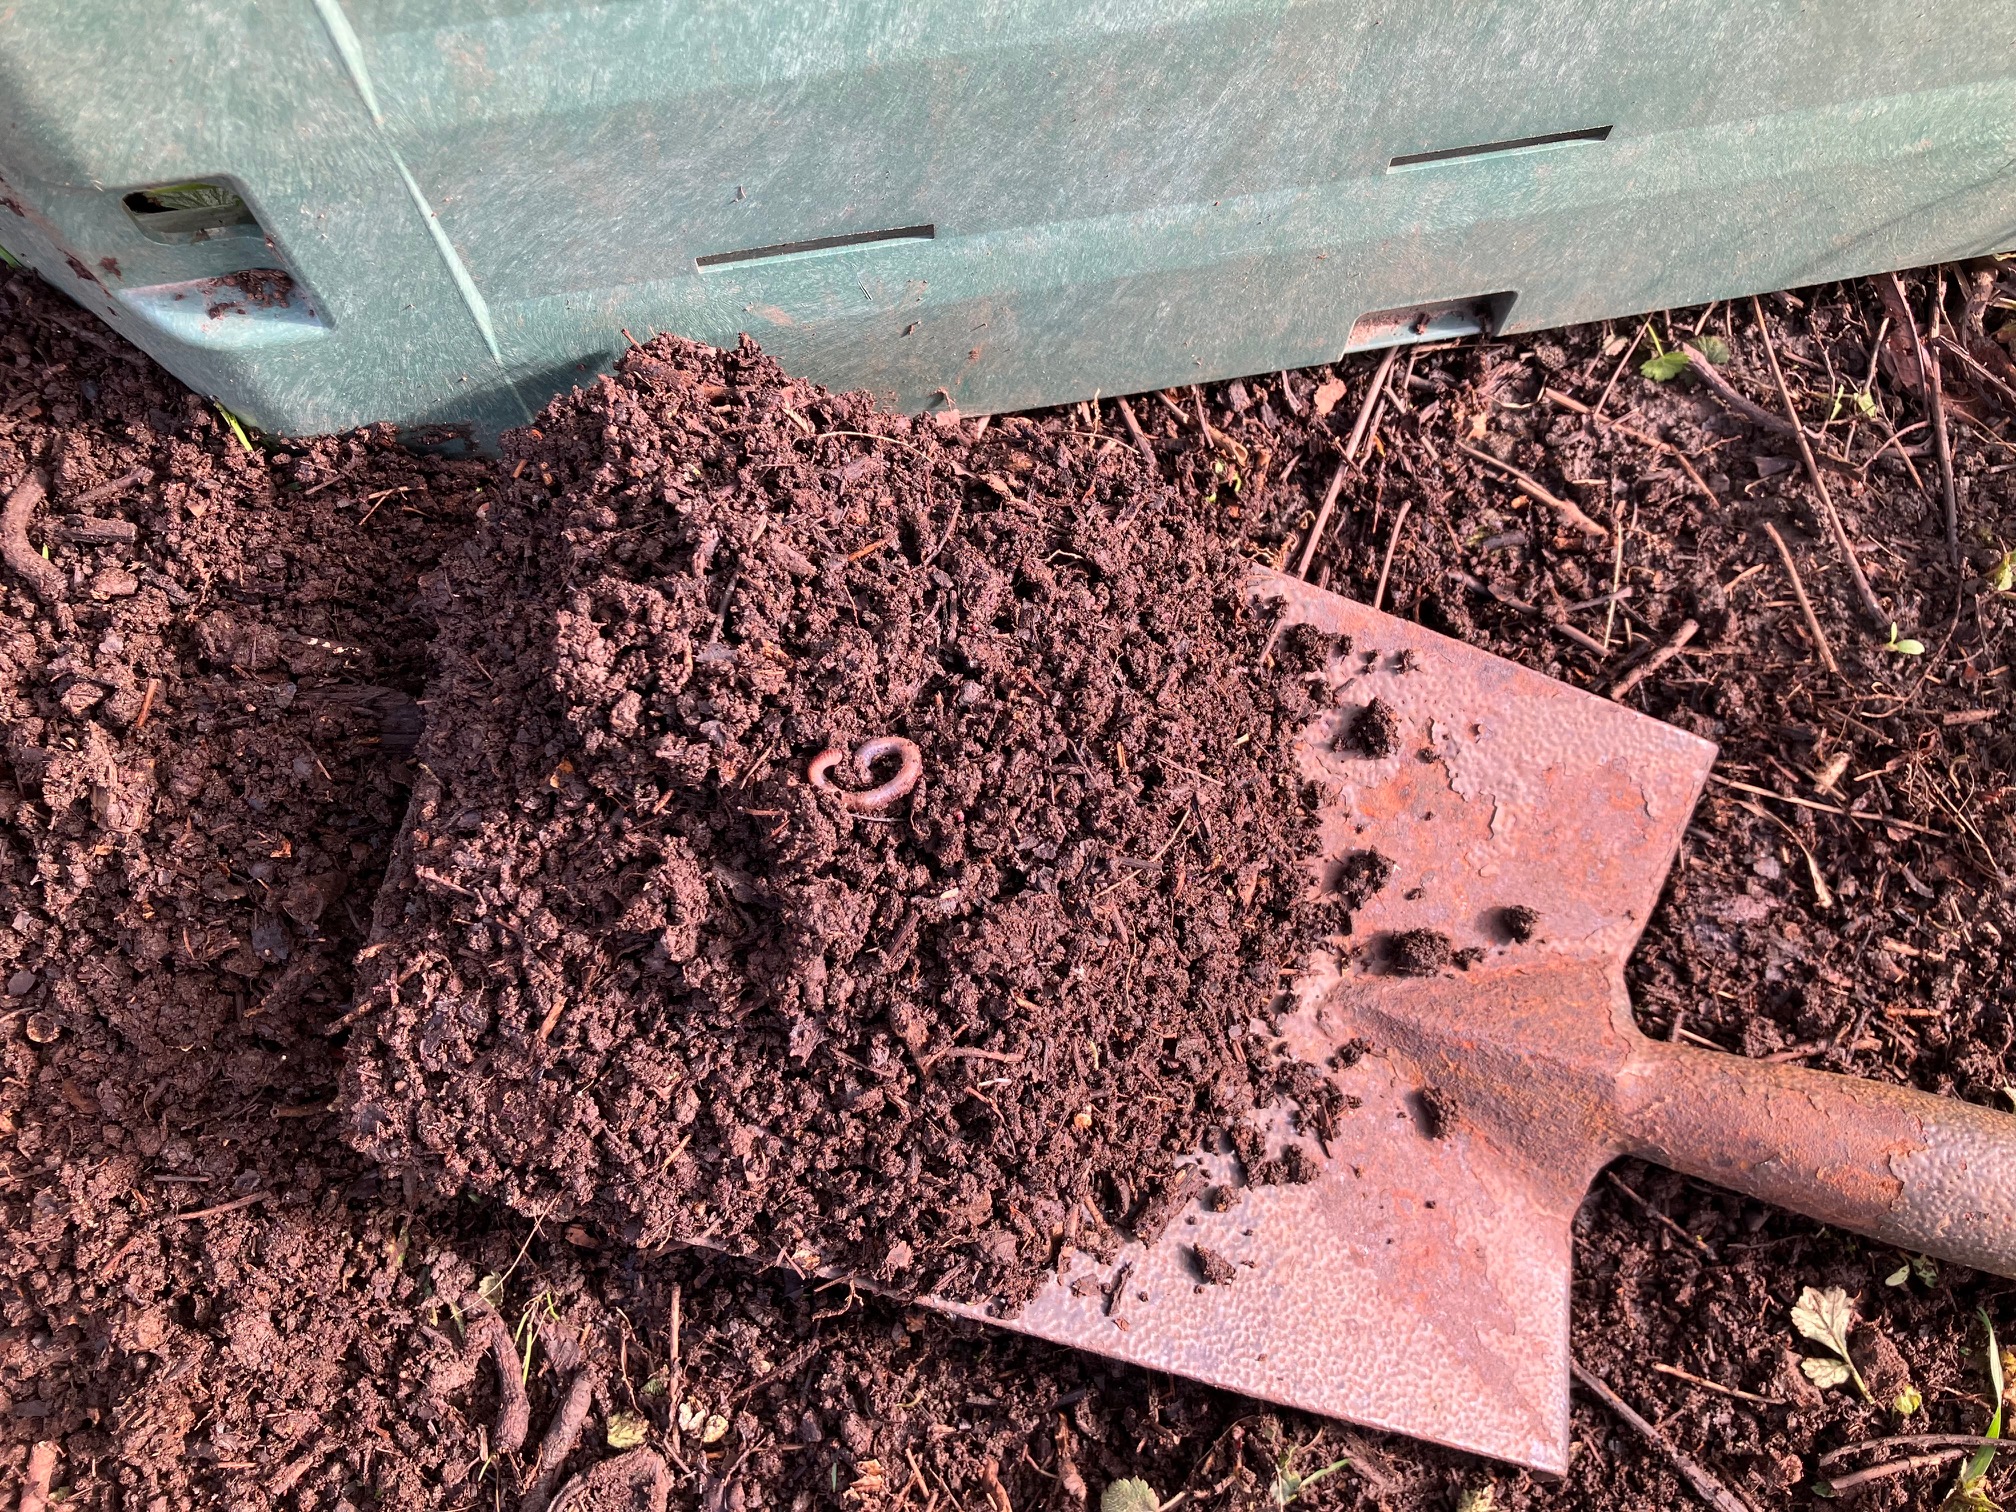
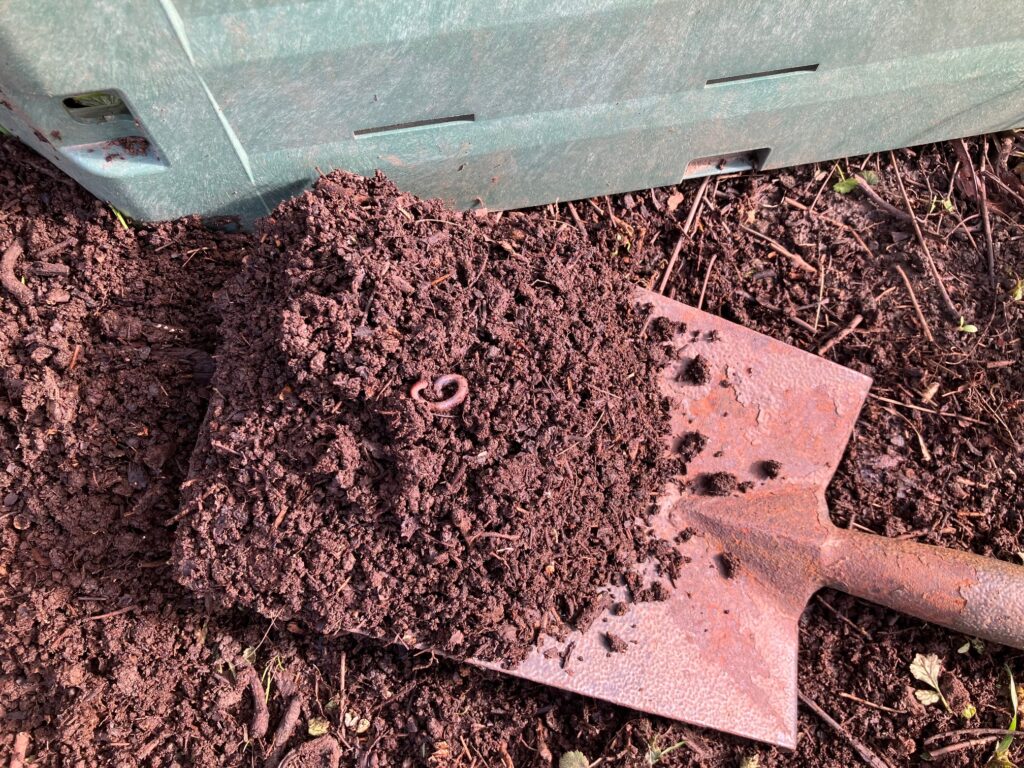
You can take compost from the bottom of the Johanna by unscrewing the hatches and removing compost using the aerator stick or a garden hoe.
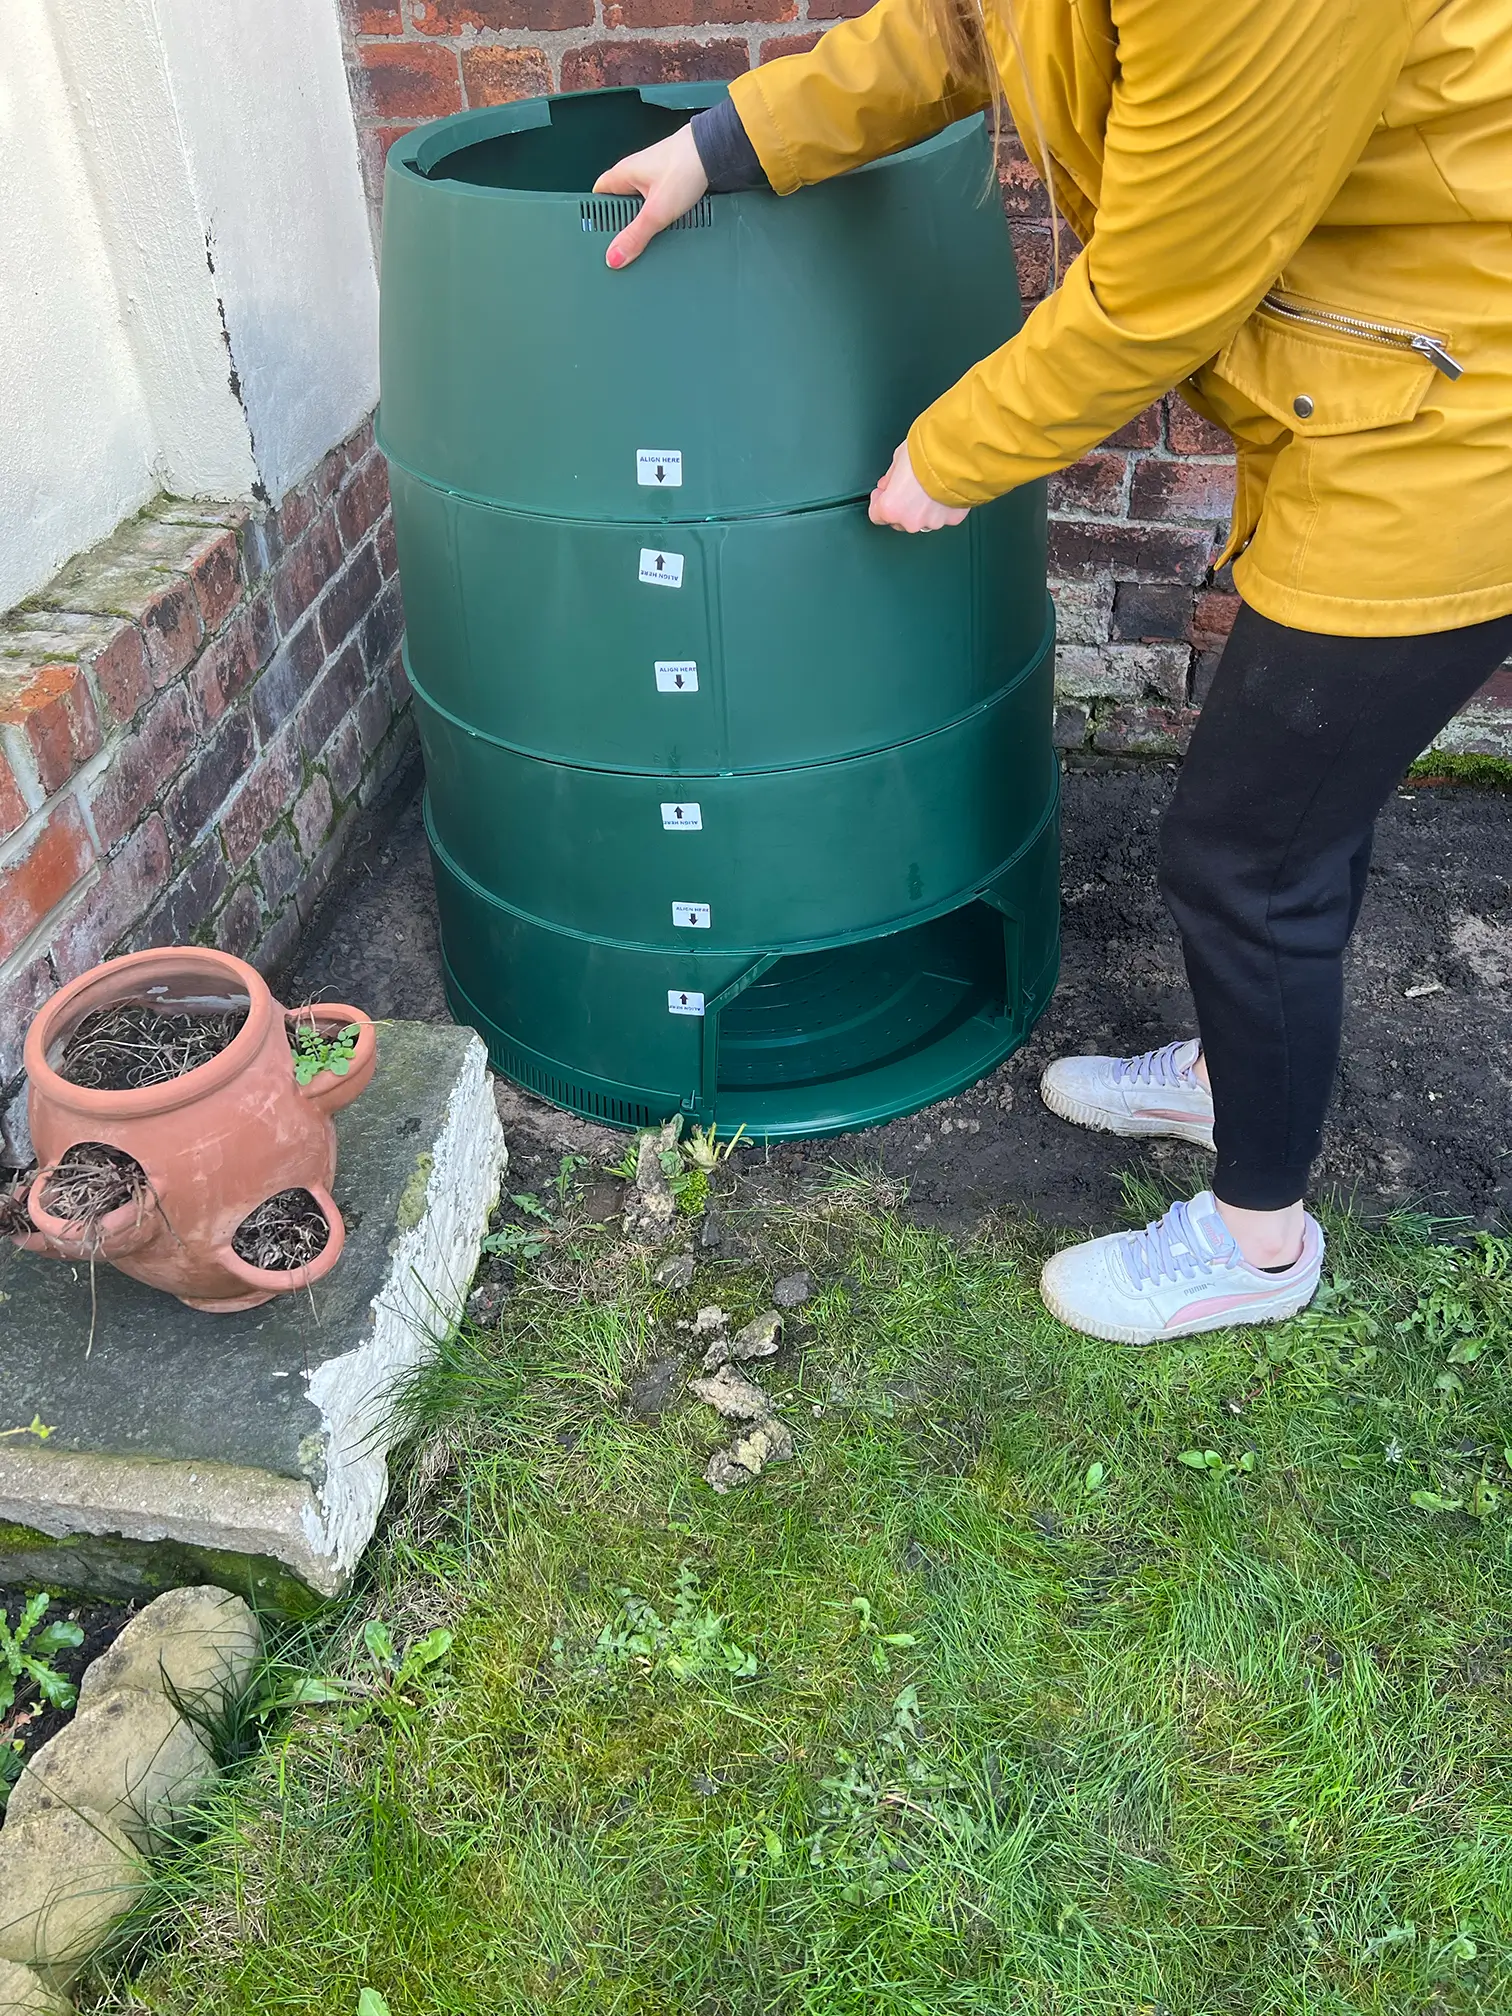
To remove larger amounts of compost that have been left longer to mature, you can unscrew the Johanna’s modular sections, then remove materials from the top that are still decomposing and place them on a tarpaulin to enable you to get to the mature compost. Then put the decomposing materials back into the reassembled compost bin to continue breaking down.
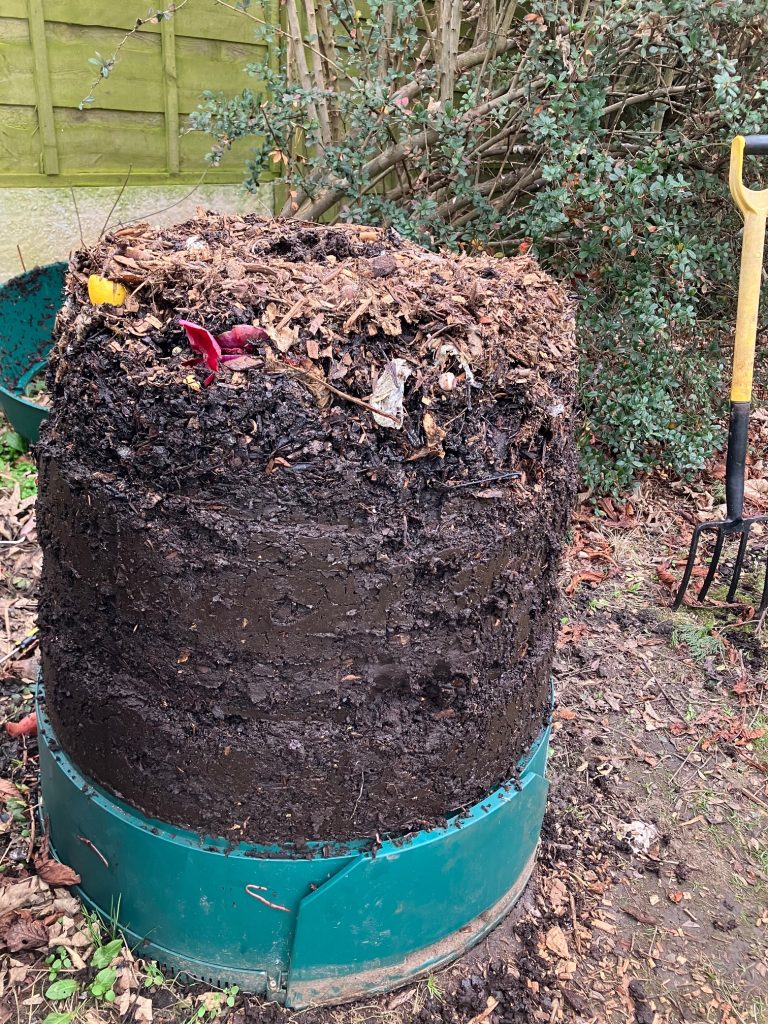
Taking a Green Johanna apart to take out compost
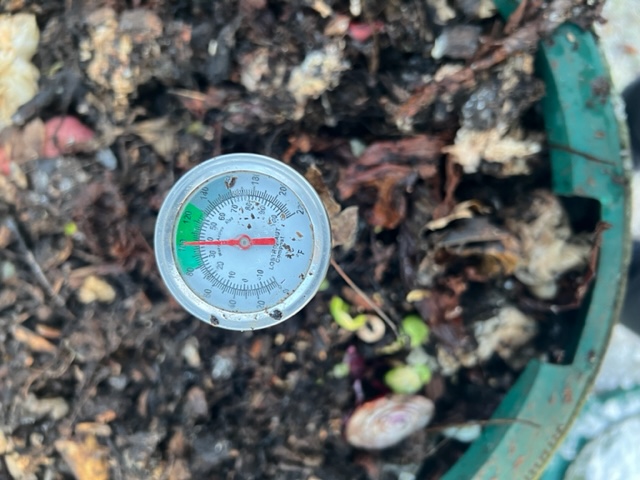
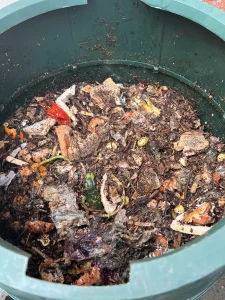
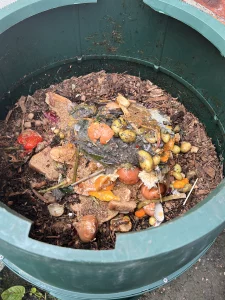
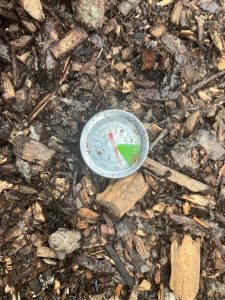
Compost is ready when it looks like soil – dark and crumbly – and also smells like fresh soil. There may be some items that have not fully broken down, such as sticks, bits of eggshell and tea bags. These can be taken out and put back into the composter to go through the breakdown process again. If there are other recognisable waste items and an unpleasant smell, the compost is not ready and should be left to continue breaking down.
This is also a good time to take leaf mould out of composters that are used only for leaves for use in your compost mixes.
Leaf mould taken from a Graf Thermo King 900 litre composter after two years breaking down
Use your compost for:
Planting – Compost acts like a natural fertiliser enriching the soil and helping plants to thrive. As it is taken into the soil by worms and other organisms, the compost feeds plants and micro-organisms in the soil. For different compost recipes, check out the Garden Organic website – www.gardenorganic.org.uk.
Mulching – At the beginning of the growing season mulches warm the soil, helping it to retain heat which would be lost at night.
- Mulch also creates a haven for insects and worms which in turn attract birds and other wildlife, creating a mini eco-system in your garden.
- Gardeners appreciate the neat weed-free appearance that mulch creates.
- If you have a dry garden, you’ll be glad of the protection that mulch offers plants in retaining water and cutting down on evaporation. This means you don’t have to water as frequently. Apply mature compost on soil after a spell of rain to retain moisture. Lay the layers at least 5cms thick after first removing weeds.
Planning your planting
- Choose plants that peak at different times from June through to September.
- Check the eventual height and spread of each plant before you plant it.
- Water in each new planting and keep them watered regularly during their first summer.
- Tackle weeds – the best approach is little and often. Hoe once a week to dislodge annuals. Perennials can be pulled out by hand if they’re still small, or if larger they can be dug out with a trowel.
- If you want to embrace No Mow May, allowing wildflowers to flourish and creating a habitat for insects, but you’re worried your lawn will look too wild, compromise by mowing a path through the grass and neatening edges.
- Support Peat-free April – although the UK government has banned the sale of bagged peat for home gardeners, peat is still used for growing plants to sell. Support peat-free nurseries and suppliers by going to the Peat-free April website (www.peatfree.org.uk)
Tips from the experts
Sarah Raven is surely the Queen of Pots – she has 382 pots in her garden. In her book A Year Full of Pots (Bloomsbury) she advises:
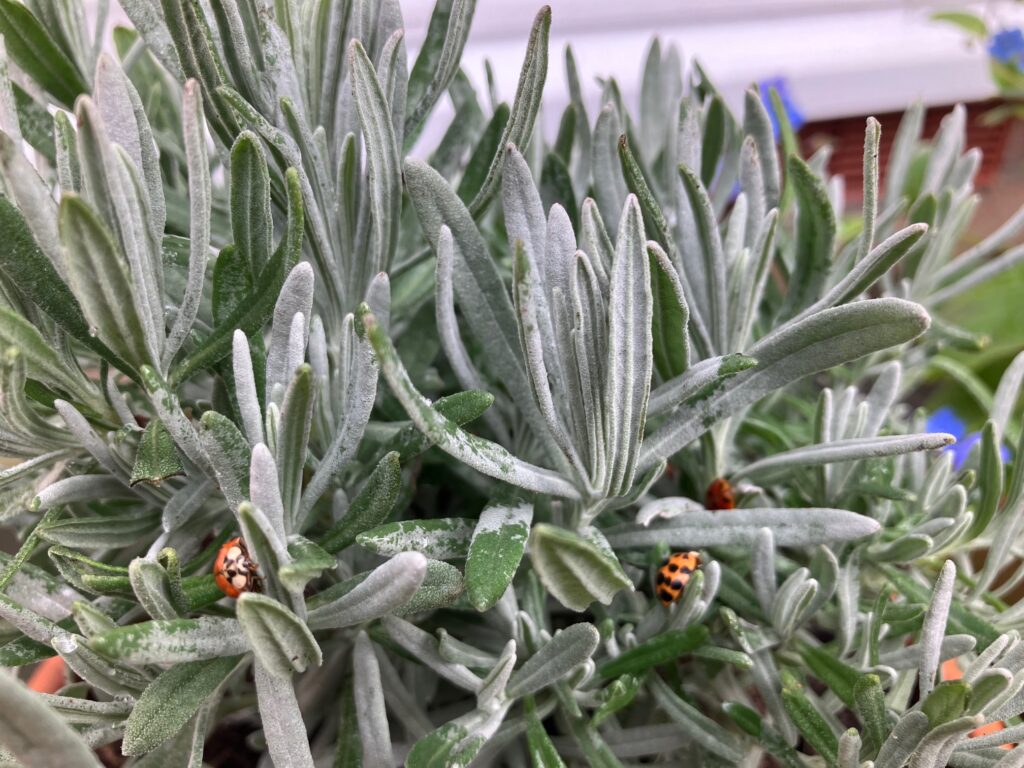
- Keep your eyes peeled for pests as the weather warms – deal with aphids with a jet of water from the hose.
- Label everything because it’s easy to forget what’s what. Always start writing at the blunt end of your label.
- If you don’t have a polytunnel, greenhouse or cold frame, it might be easier to buy seedlings online rather than sowing everything into trays and filling your windowsills. Perhaps select one or two to sow, ones that you know are easy, and buy the rest as young plants.
- The commonest method she and her team use is the seed tray method – using peat-free potting compost, they place everything on a heated propagator mat. Warmth helps to speed up germination, so keep bags of compost inside if you can. Water the compost in the trays with watering cans that have sat on the hot bench.
- Storing seed – if you have any leftover seed, secure the packet and put it in an airtight box. Store somewhere cool until next year.
Poppy’s plants
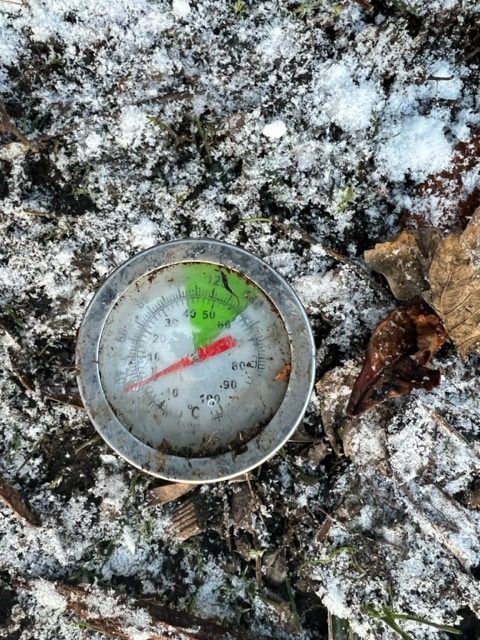
There may now be enough light for tender plants to grow outside but is it still too cold for them?
Poppy Okotcha, writing in her Observer gardening column, uses the rule of thumb that if it’s chilly outside for her and she needs to wear more than a T-shirt, then tender plants are probably feeling the cold too. She advises:
- A sunny windowsill, warm conservatory or porch will do them well until the frosts pass and day and night temperatures consistently reach 8-10 degrees C.
- It’s worth finding out the hardiness rating of the crop you’re sowing so you can cater to its needs. After the seeds have germinated, any hardy seedlings can be relocated somewhere with plenty of light that is not too warm. A cool, bright windowsill, conservatory, porch, or cold frame would do, or for those lucky enough to have one, an unheated greenhouse is fine. If seedlings have too much warmth and not enough light they will grow ‘leggy’, which just means spindly and weak.
- Source seeds that are ethically grown, such as those certified organic by the Soil Association or Biodynamic by Demeter.
- Keep tender plants safe from slugs and snails through Spring by covering them with cloches, plastic bottles or glass jars to act as physical barriers until the plant is vigorous enough to withstand some nibbling. Put the containers on in the evening and take them off in the morning.
Let’s not forget wildlife
Remember visiting creatures when you’re out and about in your garden.
- Leave natural materials outside for nest-making.
- Create resting places for bees just waking up.
- Plant quick-growing flowers for pollinators.
- Deep clean any bird feeders and baths.