When I got the kids a wormery for Christmas

Last Christmas I thought long and hard before getting presents for my best friend’s grandchildren – Reggie, 6, and Maggie, 2.

You don’t want to waste money or add to the mountain of discarded junk by buying pointless gifts.  

Plus, I always like to get practical, useful things – I’m not bothered about being popular (‘Oh great, another swimming cap/homework bag from Auntie Julie.’)

But this time I upped my game.

Eco gifts are gifts that keep on giving. It would be easy to drive children to despair about the climate crisis, but how much better to show them instead what they can do to help? Yes, tackling the climate emergency is a big job, but it’s one that each and every one of us – no matter how young – can play a part in.

And so I gave Reggie and Maggie a wormery.

Why? Because wormeries (also called worm farms) are a great way to introduce children to small-scale composting and the marvellous way that nature deals with waste. Not only does vermicomposting (from the Latin ‘vermis’ for worm) keep organic waste out of landfill, but it also shows how easily worms can turn our food scraps into a highly nutritious food for plants

Yes, there were quizzical looks from the kids as they opened the box – it was clearly not a fort or a unicorn castle – but they were very keen to set up the Maze Worm Farm and probably very relieved that it wasn’t a pack of thermal vests. As it was the coldest time of year, they set the worm farm up in the greenhouse, which provided warmth and shelter for the winter, and waited excitedly for their worms to arrive. (The worms come separately through the post from a supplier of specially selected composting worms.)

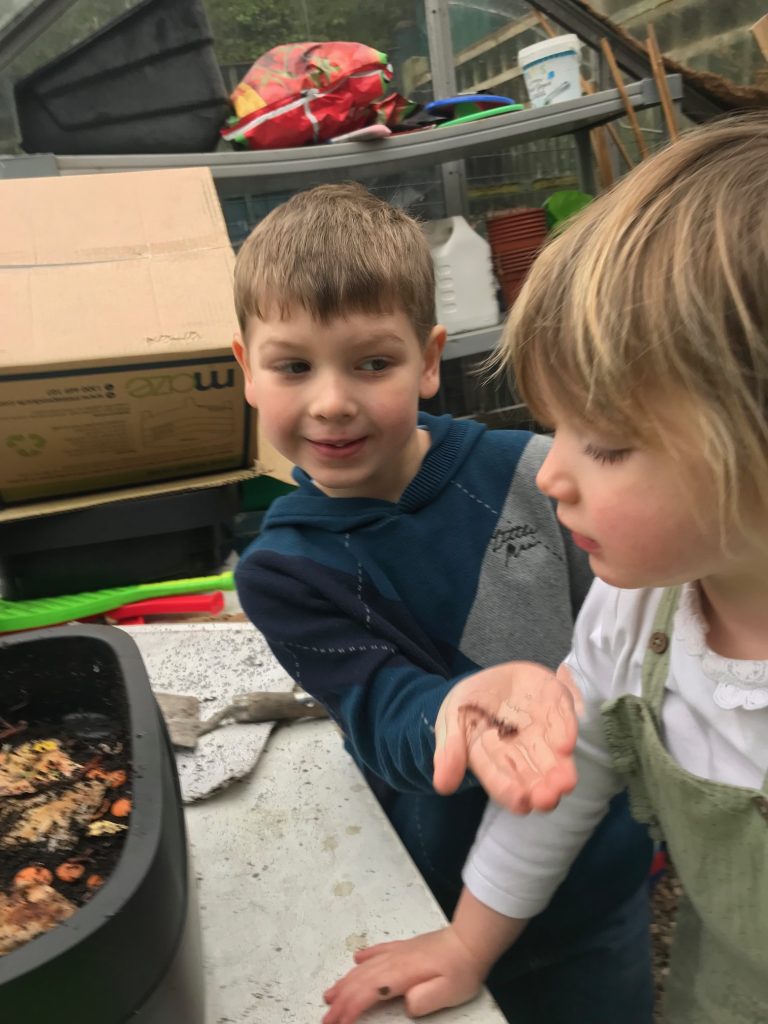
The children’s reaction when the worms arrived was a mixture of ‘Eurgh’ (Maggie) and ‘Ooh’ (Reggie).

Reggie was keen to show how brave he was and gently introduced a worm to his sister, who also became brave but was happy just looking. They made a cosy home for the worms, providing a blanket of newspaper to keep them warm and safe in the dark.   

Reggie and Maggie noticed the worms were not very active for a few weeks, probably because of settling in at such a cold time of year, but then they soon started tucking in (the worms, not the kids).

 Like most young children they were expecting fast results, so were surprised to learn it can take two to three months to get worm casts (poo, since you ask). You can’t rush these things…

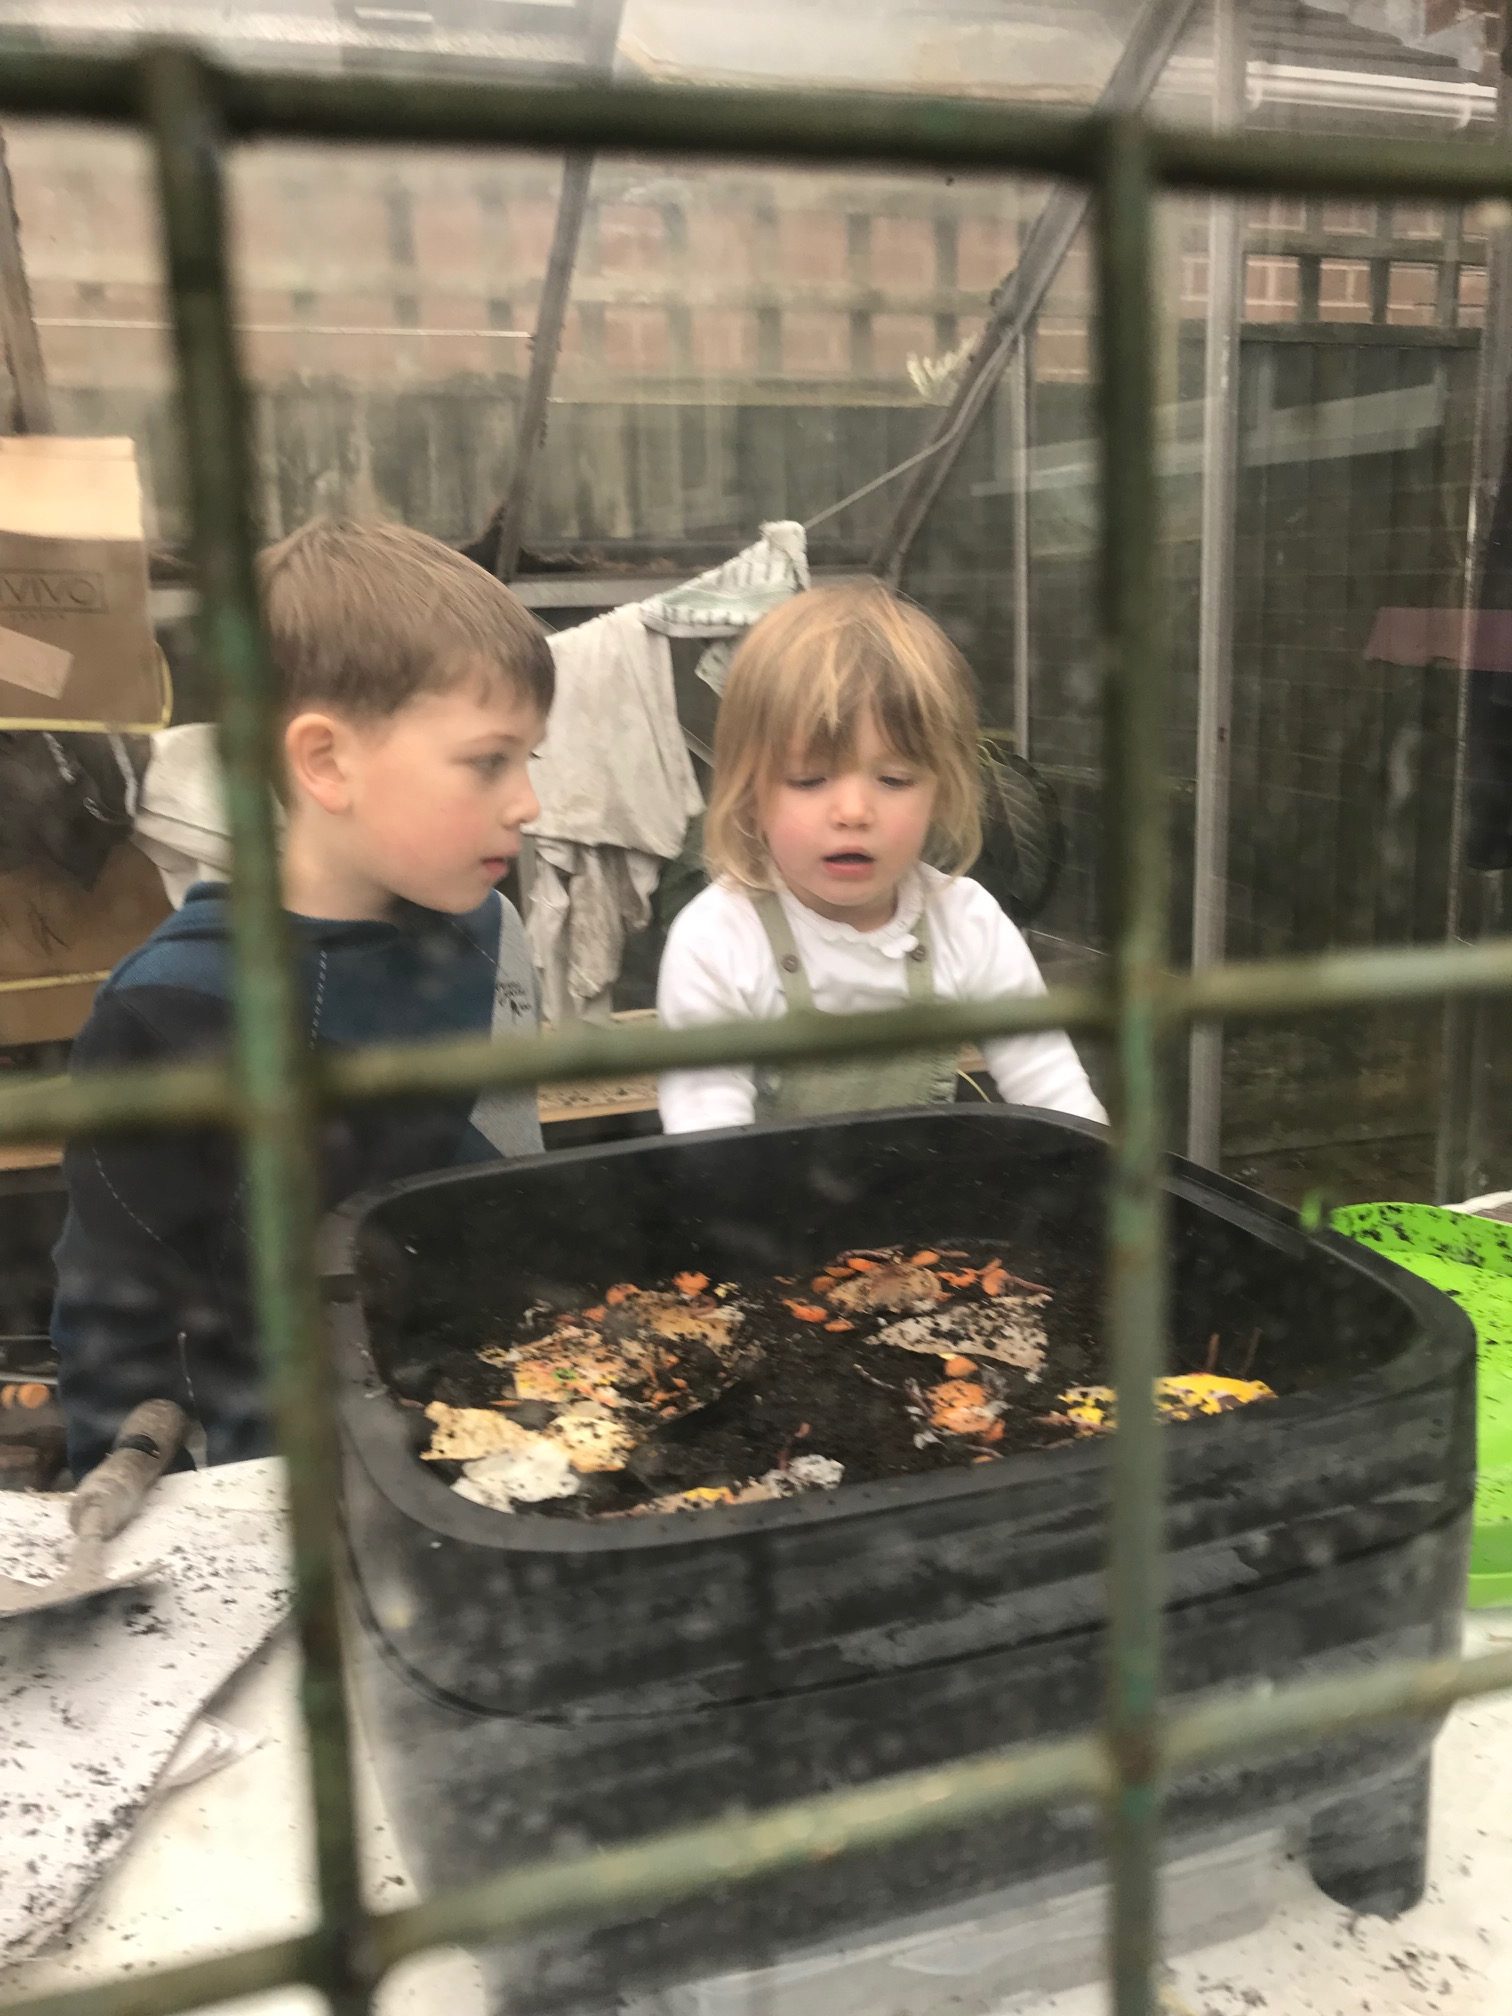
Children start a wormery

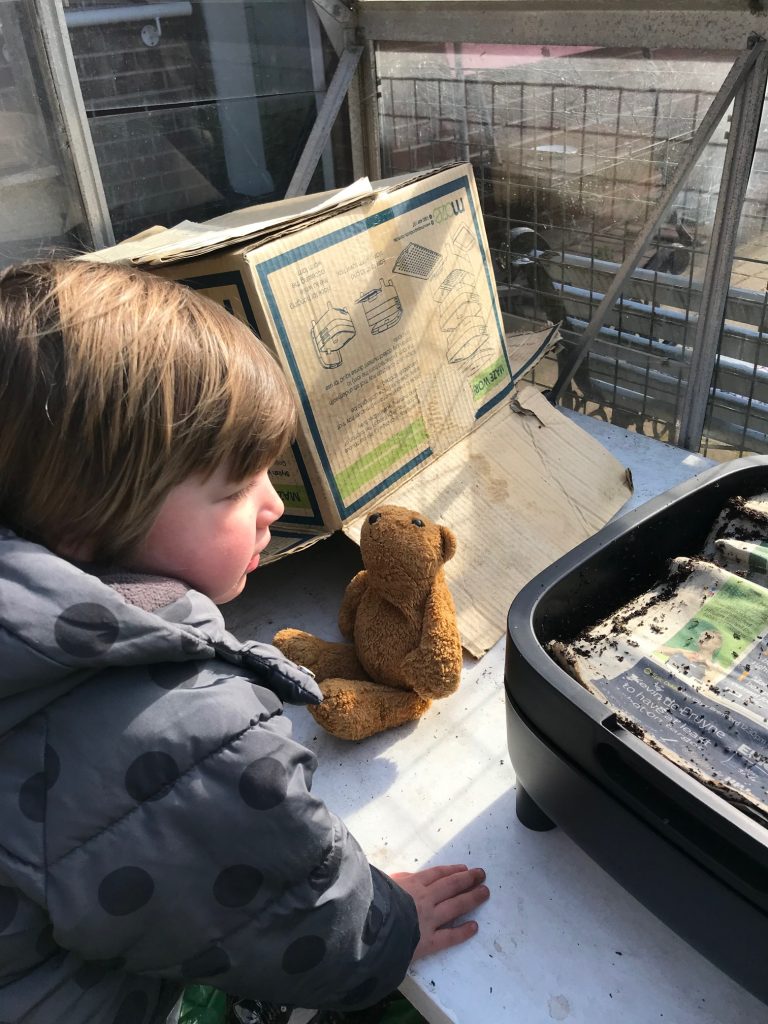
Maggie and Little Bear waiting for worm casts

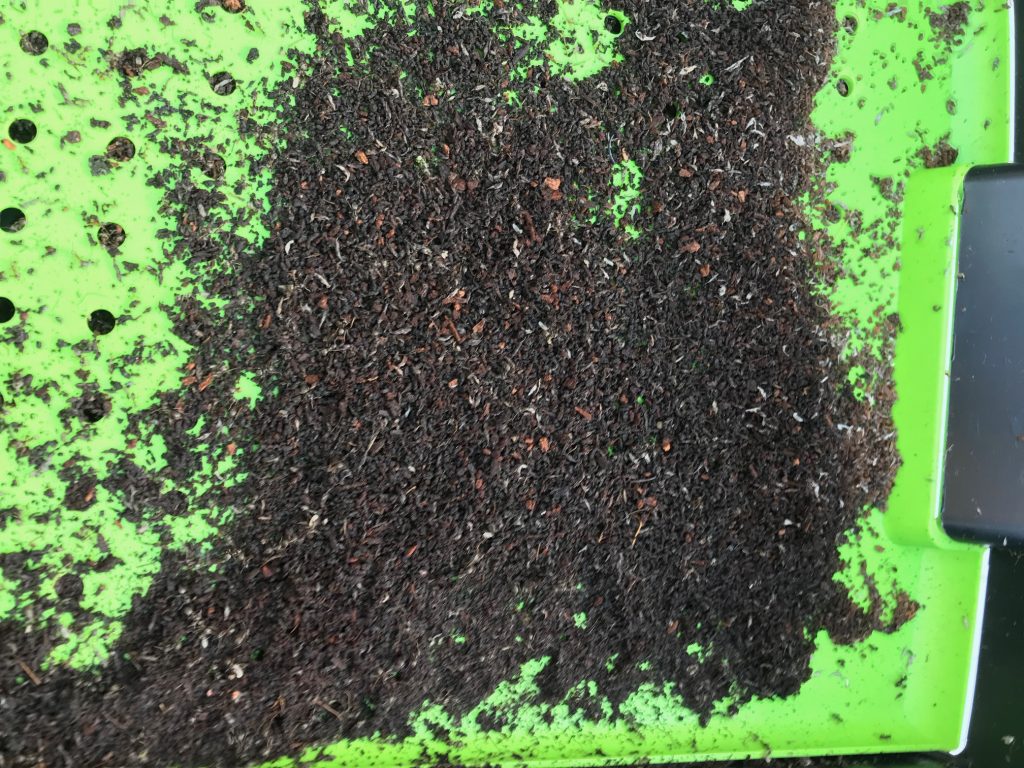
But when you do harvest the casts you realise why gardeners call this stuff ‘black gold’. One tablespoon of worm casts provides enough nutrients for a plant to thrive throughout the growing season.

Ten weeks in and Reggie and Maggie were the proud harvesters of some of this black gold.

It was great to see the change in Maggie’s attitude to the worms – she went from being afraid of them to become knowledgeable and confident looking after them.

Harvesting worm casts

Wonderful things about worm farms

  • They make great projects for children as this subject can grow in complexity as the child grows – it can be super simple for pre-schoolers but gradually takes in chemistry, biology, ecology, the food cycle and carbon cycle as well as gardening and growing your own food.  
  • Children will develop respect for these humble but mighty creatures. Through tunnelling, worms aerate and improve the soil, providing nutrients for plants to flourish. Without them the earth would become cold, hard and sterile.
  • Studies have shown that the simple act of introducing worms to degraded soil in poor regions of the world has increased plant yields by 280%.
  • Worms are easy to feed on vegetable and fruit scraps, coffee grounds, tea bags, and crushed eggshells.
  • Convenient to set up indoors or outdoors in a sheltered spot.

Encouraged by how well Reggie and Maggie took to vermicomposting, I decided that when it came to Easter they didn’t need yet another boring Easter egg from Auntie Julie.

Not when there are other fabulous presents to be had, such as membership of the Earthworm Society!

 I like to think they’ll thank me one day.

Julie

Which composter is best for me?

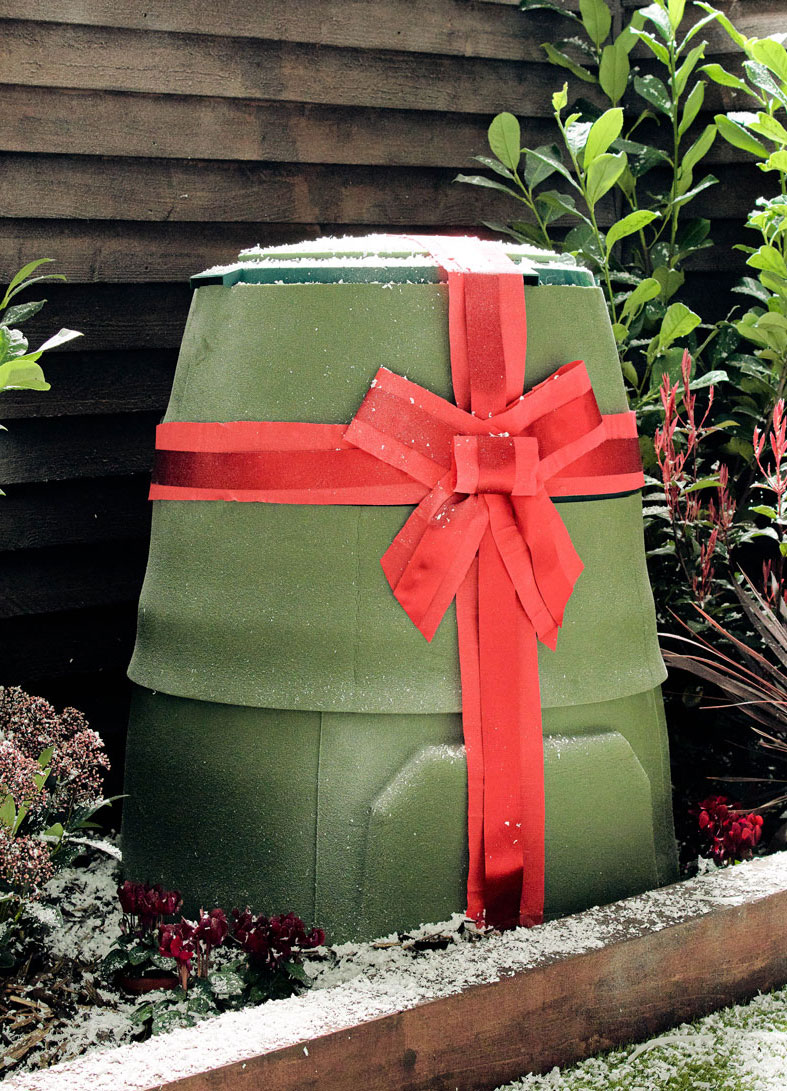
An image of a green johanna

If you’re new to composting it can be difficult to know which bin (or system, if you like to think in systems rather than bins) is best for your home and lifestyle. Our handy guide can help.

Food waste composter/digester

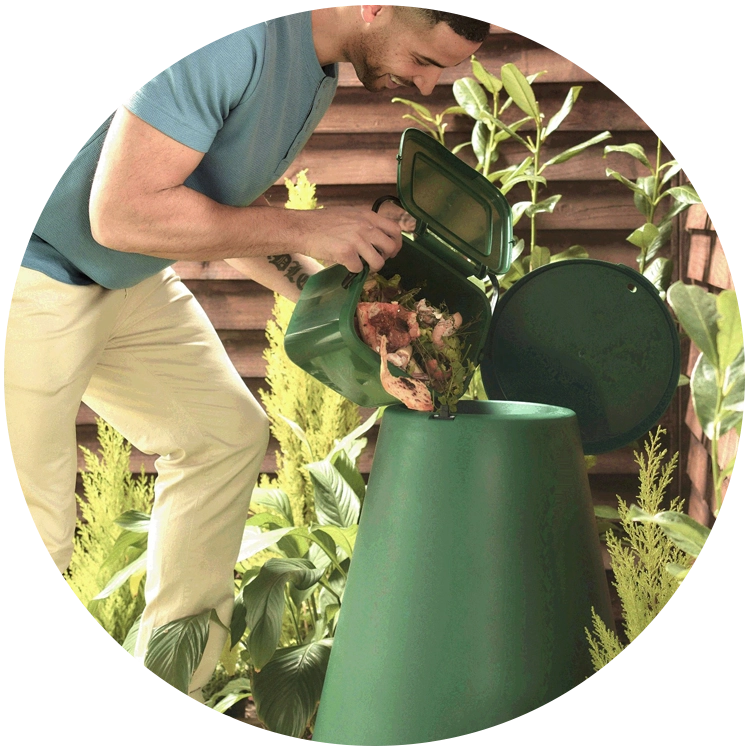
The Green Johanna Hot Composter and Green Cone Food Waste Digester are both designed to accept foods that regular garden composters don’t, such as cooked food, meat, fish and dairy, so all your food waste can go in together. Compare them to see which one best suits your needs.

Green Johanna Hot Composter

  • Produces compost.
  • Also accepts garden waste.
  • Added waste should be a balance of nitrogen-rich content, commonly called Greens, (food waste/fresh grass cuttings/fresh green leaves) and carbon-rich content, commonly called Browns (chopped branches and twigs/wood chips/dead leaves/shredded paper and cardboard).
  • Comes with aerator stick provided to aerate the contents regularly.
  •  Ideally placed on soil or grass
  • One Johanna accepts the average food waste of a household of five and the garden waste from an average-sized garden.
  • With hot composting techniques, higher temperatures are reached than with regular composting.

Green Cone Food Waste Digester

  • Must be dug into a hole in free-draining soil (not clay or chalk).
  • Accepts all food waste, even bones.
  • Doesn’t accept garden waste or paper waste.
  • Doesn’t produce compost – instead it produces nutritious water which drains from its underground basket and feeds surrounding soil.
  • No turning or stirring required.
  • Uses solar energy so requires a sunny spot.
  • Comes with kitchen caddy provided.

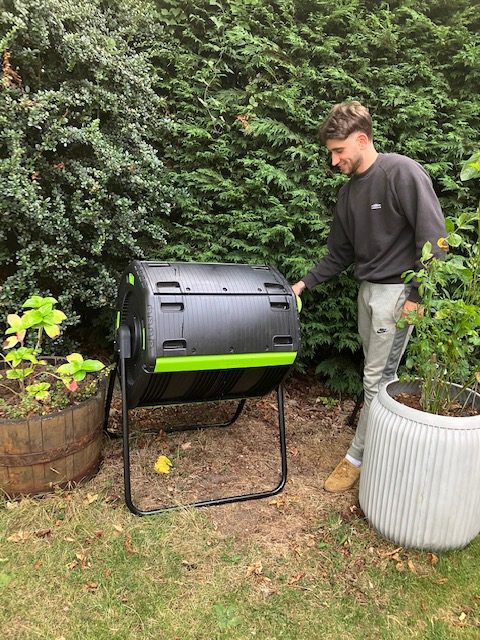
Compost Tumbler (by Maze) 180 litre/245 litre

  • Takes kitchen waste and garden waste. Accepts cooked waste if chopped up into small pieces and mixed in well with other waste.
  • Cylindrical rotation design makes turning compost easy. Instead of manually stirring you turn the ratchet handle. The geared ratchet automatically locks rotation in any position.
  • Two compartments mean non-stop composting – when the first compartment is full you start on the second.
  • Can be hardstanding.
  • A cart is available so that finished compost can be removed and wheeled where you want it in the garden.

Traditional Garden Compost Bins

  • Usually used for cold composting at low temperatures.
  • Only take raw fruit and veg scraps, garden waste and paper/cardboard.
  • Require a 50/50 mix of nitrogen-rich Greens and carbon-rich Browns.
  • Available in plastic or wood. Plastic bins tend to be more robust but wood may be preferred for a natural look. 

Lack of space?

Worm farms

Worm farms, also called wormeries, are ideal for small-scale composting and for introducing children to the fascinating world of worms, which is an education in itself.

  • Require a sheltered spot.
  • Worms will digest many kinds of foods cut up into small pieces and other kitchen waste such as shredded paper, egg cartons, scrunched up newspaper.
  • A little management is needed to maintain the ideal environment for your worms, so be sure to read the instruction booklet.
  • Produce excellent worm-made compost – vermicompost – for your garden.
  • Learning fascinating facts about these tiny eco-heroes is sure to turn children into composters of the future.

Bokashi Bins

14 litre Maze Bokashi Bin
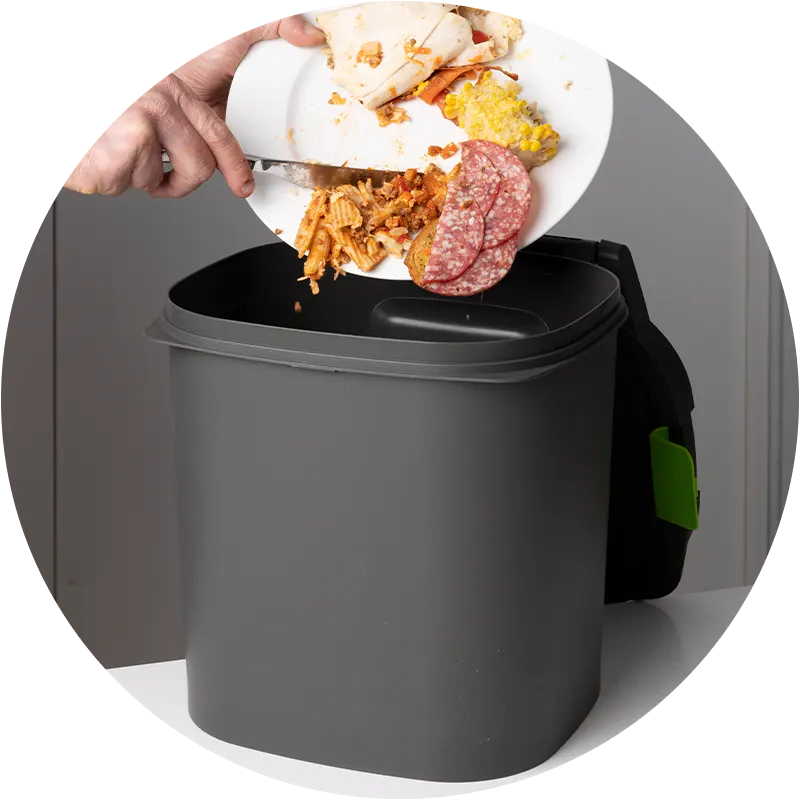
  • Kitchen food waste bins that can sit on a worktop or under a sink and accept all chopped-up food waste.
  • Food waste is fermented, resulting in a pre-compost mixture which can be added to a compost bin or wormery, buried in soil in the garden or in large planters in order to break down into compost.
  • Requires the addition of friendly bacteria in a bran or spray to accelerate fermentation.
  • When full of food waste, the container is left sealed for two to three weeks for fermentation to take place anaerobically (without air).
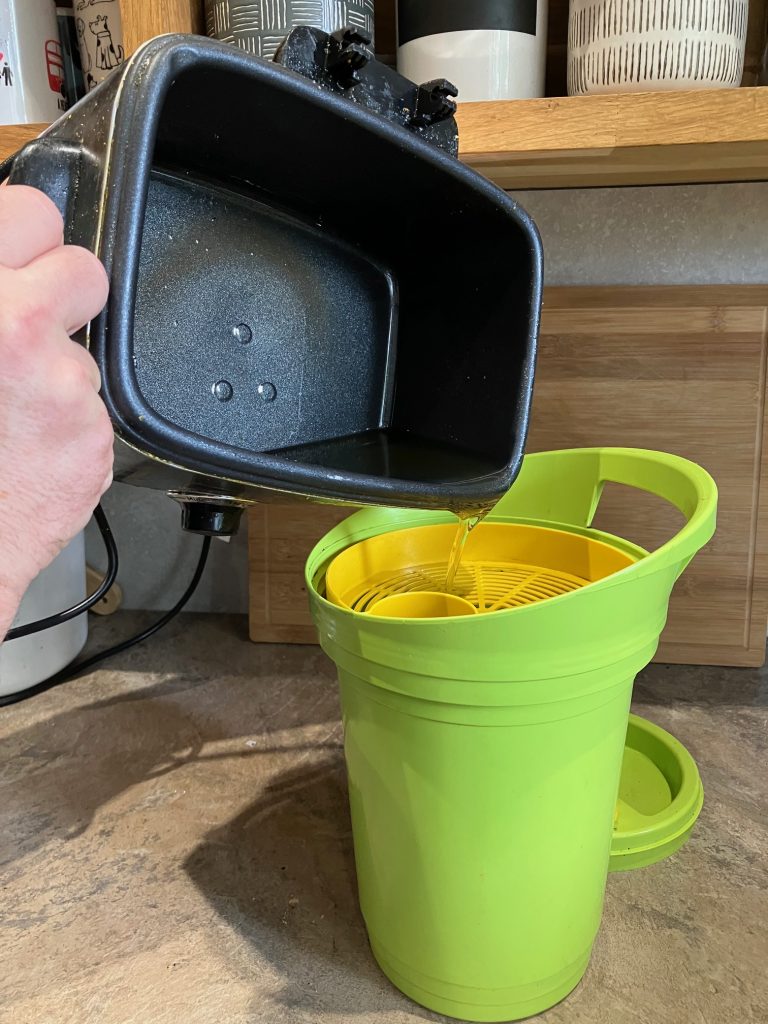
  • Nutritious liquid is drained from a tap at the bottom of the bin and can be used diluted as plant fertiliser or concentrated as organic drain cleaner.
  • Bokashi comes from the Japanese term for ‘fermented organic matter’.

Choosing a compost bin – by the experts

This advice – taken from a webinar by master composters from Garden Organic – provides extra help.

Wooden bins – a sustainable material – cheaper – allows the pile to breathe – looks natural and attractive in the garden – don’t add meat, fish, dairy or cooked food due to lower temperatures – a few bins can be placed together, with one or two left to mature while one keeps working.  

Blackwall compost converter – the most common bin – affordable – long-lasting – made from recycled plastic – useful for getting compost out (the bin can be lifted up and removed like a jelly mould) – a base plate is available but an added deterrent to rodents can also be achieved by digging the composter slightly into the ground and putting a  wire mesh under the base – channels of air can be created by plunging a broom handle into the contents.

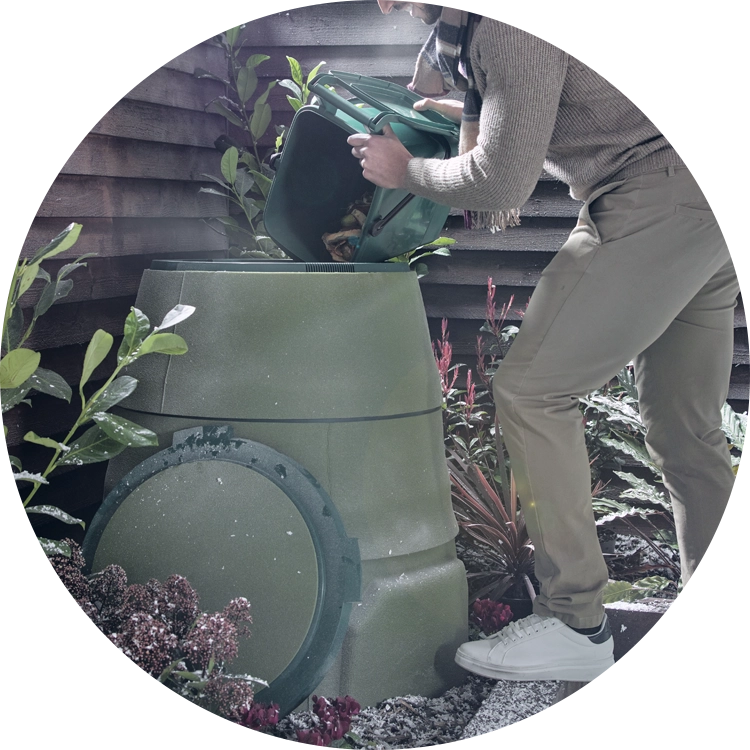
Green Johanna – reaches higher temperatures – as an enclosed unit it offers greater rodent protection – the twistable top controls ventilation – the solid perforated base means liquid can drain out and micro-organisms can enter – if adding meat, add small amounts, mixed with lots of greens and browns – aerate the top layer every time you add materials – for speedier composting an insulating jacket is available. An alternative way of taking compost out, rather than accessing through the hatches, is to loosen the screws and lift off one or two sections.  Composting slows down in winter but the Johanna continues well and does better than other composters.

HOTBIN – versatile, takes all food waste and also perennial weeds – produces compost quickly – useful in school gardens – contains air channels – needs woodchips as a bulking agent – has a hard surface to discourage rats nesting underneath – requires more attention – more expensive but versatile.  

Wormery – small and self-contained – ideal for small amounts of waste – year-round composting – can be indoors – worms eat the bacteria on the organic matter – no spicy foods or citrus, only small amounts of meat – food scraps are placed on the top section, casts fall to the bottom. Use the worm-made compost on pot plants or round trees and shrubs. NOTE: If the liquid that is produced smells bad it has gone anaerobic and should be flushed away.

Also:

  • Wormery compost is a great improver to shop-bought compost; you can buy the cheapest of composts but turn it into black gold with the addition of your vermicompost.
  • Sheds are not a good place to house a wormery due to temperature fluctuations – a garage or indoors is better.
  • If you need your worms to move out of way as you harvest casts, add melon or banana – worms love these and will obligingly wriggle over to them.  
  • Don’t forget that with a wormery you are responsible for living creatures.

Bokashi bin – ferments waste instead of composting so the contents need to be transferred to a composter after a couple of weeks – this pre-compost  acts as an activator in your compost bin – Bokashi bran is needed – fermented contents of the bin will still be recognisable (some people expect compost) – produces liquid which can be used as a drain cleaner or diluted as fertiliser – good to use two bins to keep the process going – ongoing bran purchase required.

Tumblers – compost is kept off the ground so rodents are deterred.   

Electric kitchen composters – these grind waste as opposed to composting it.

Ridan – giant tumblers with a cog and gear system that makes the handle easier to turn – popular in schools and businesses.

Ants in your wormery? Here’s what to do

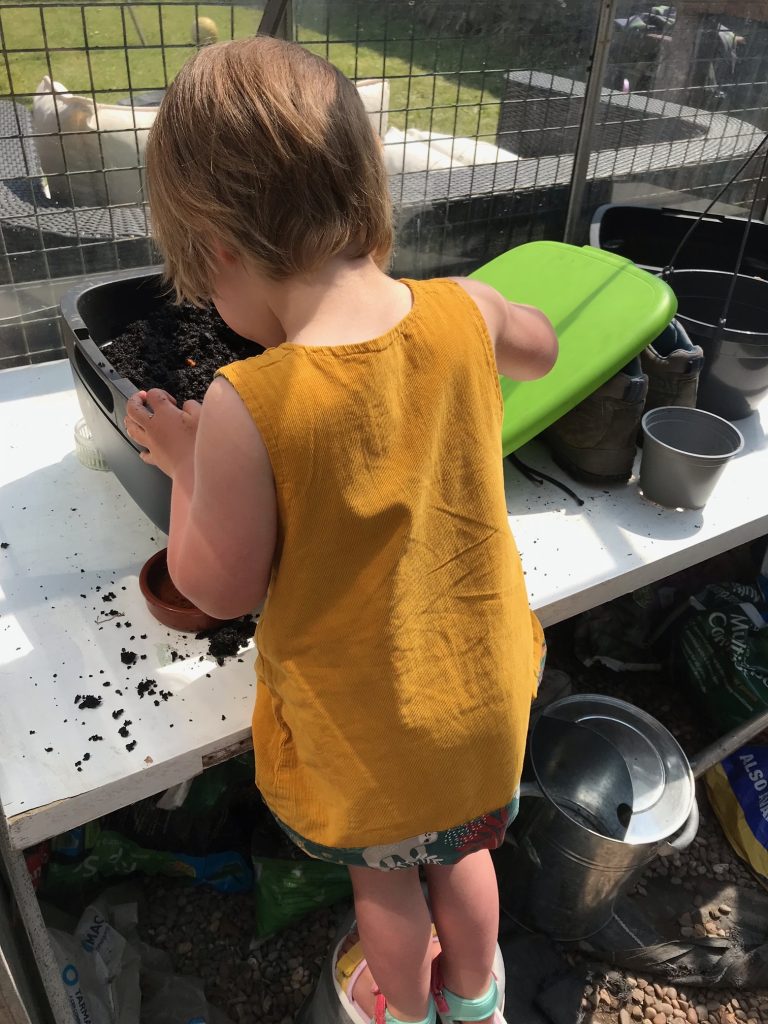
Showing that even the youngest of children can rise to the challenges of worm farming, our friend Magdalena, two, stepped in to look after her worms recently.

One day while feeding the worms with her grandparents, she was quick to spot something new – ants.  Grandma told her this was due to the worm farm bedding being too dry, creating conditions that appeal to ants.

The solution was to gently add some water. Wormery bedding should be neither wet, nor dry. If you squeezed the bedding material it should feel moist with minimal water dripping out.
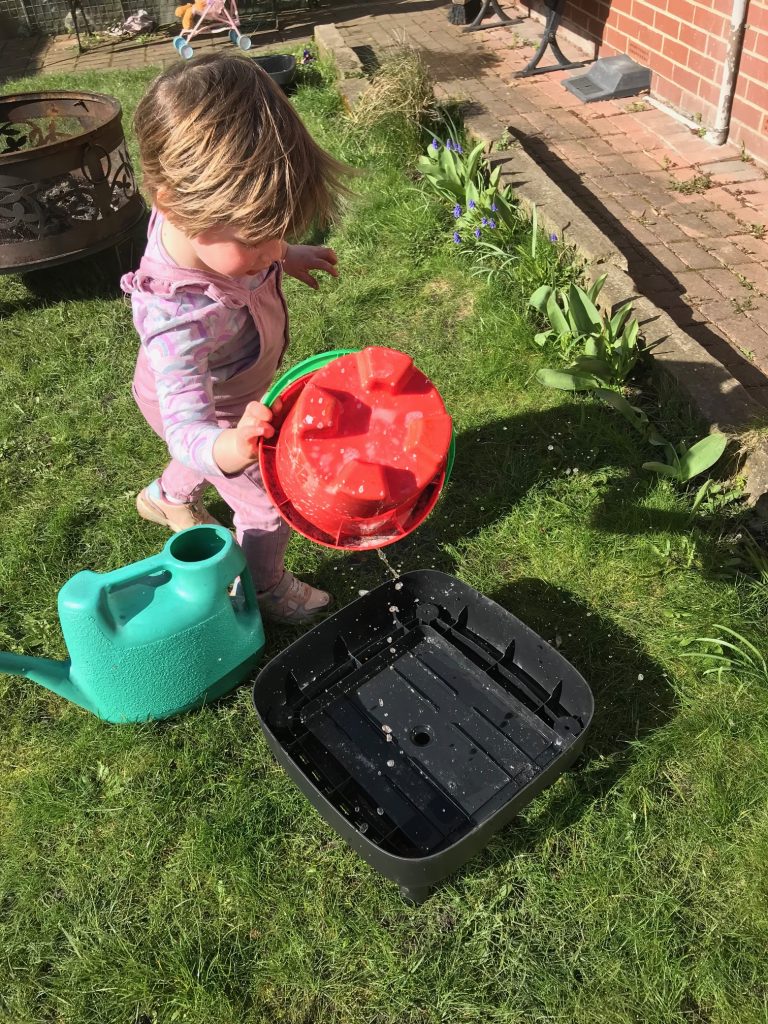
So Maggie filled up her watering can and got to work, sorting the worms out and making sure they had conditions just as they like them – moist and dark, covered by a few sheets of newspaper as a blanket (or cardboard, or hessian) to keep them feeling cosy and safe.

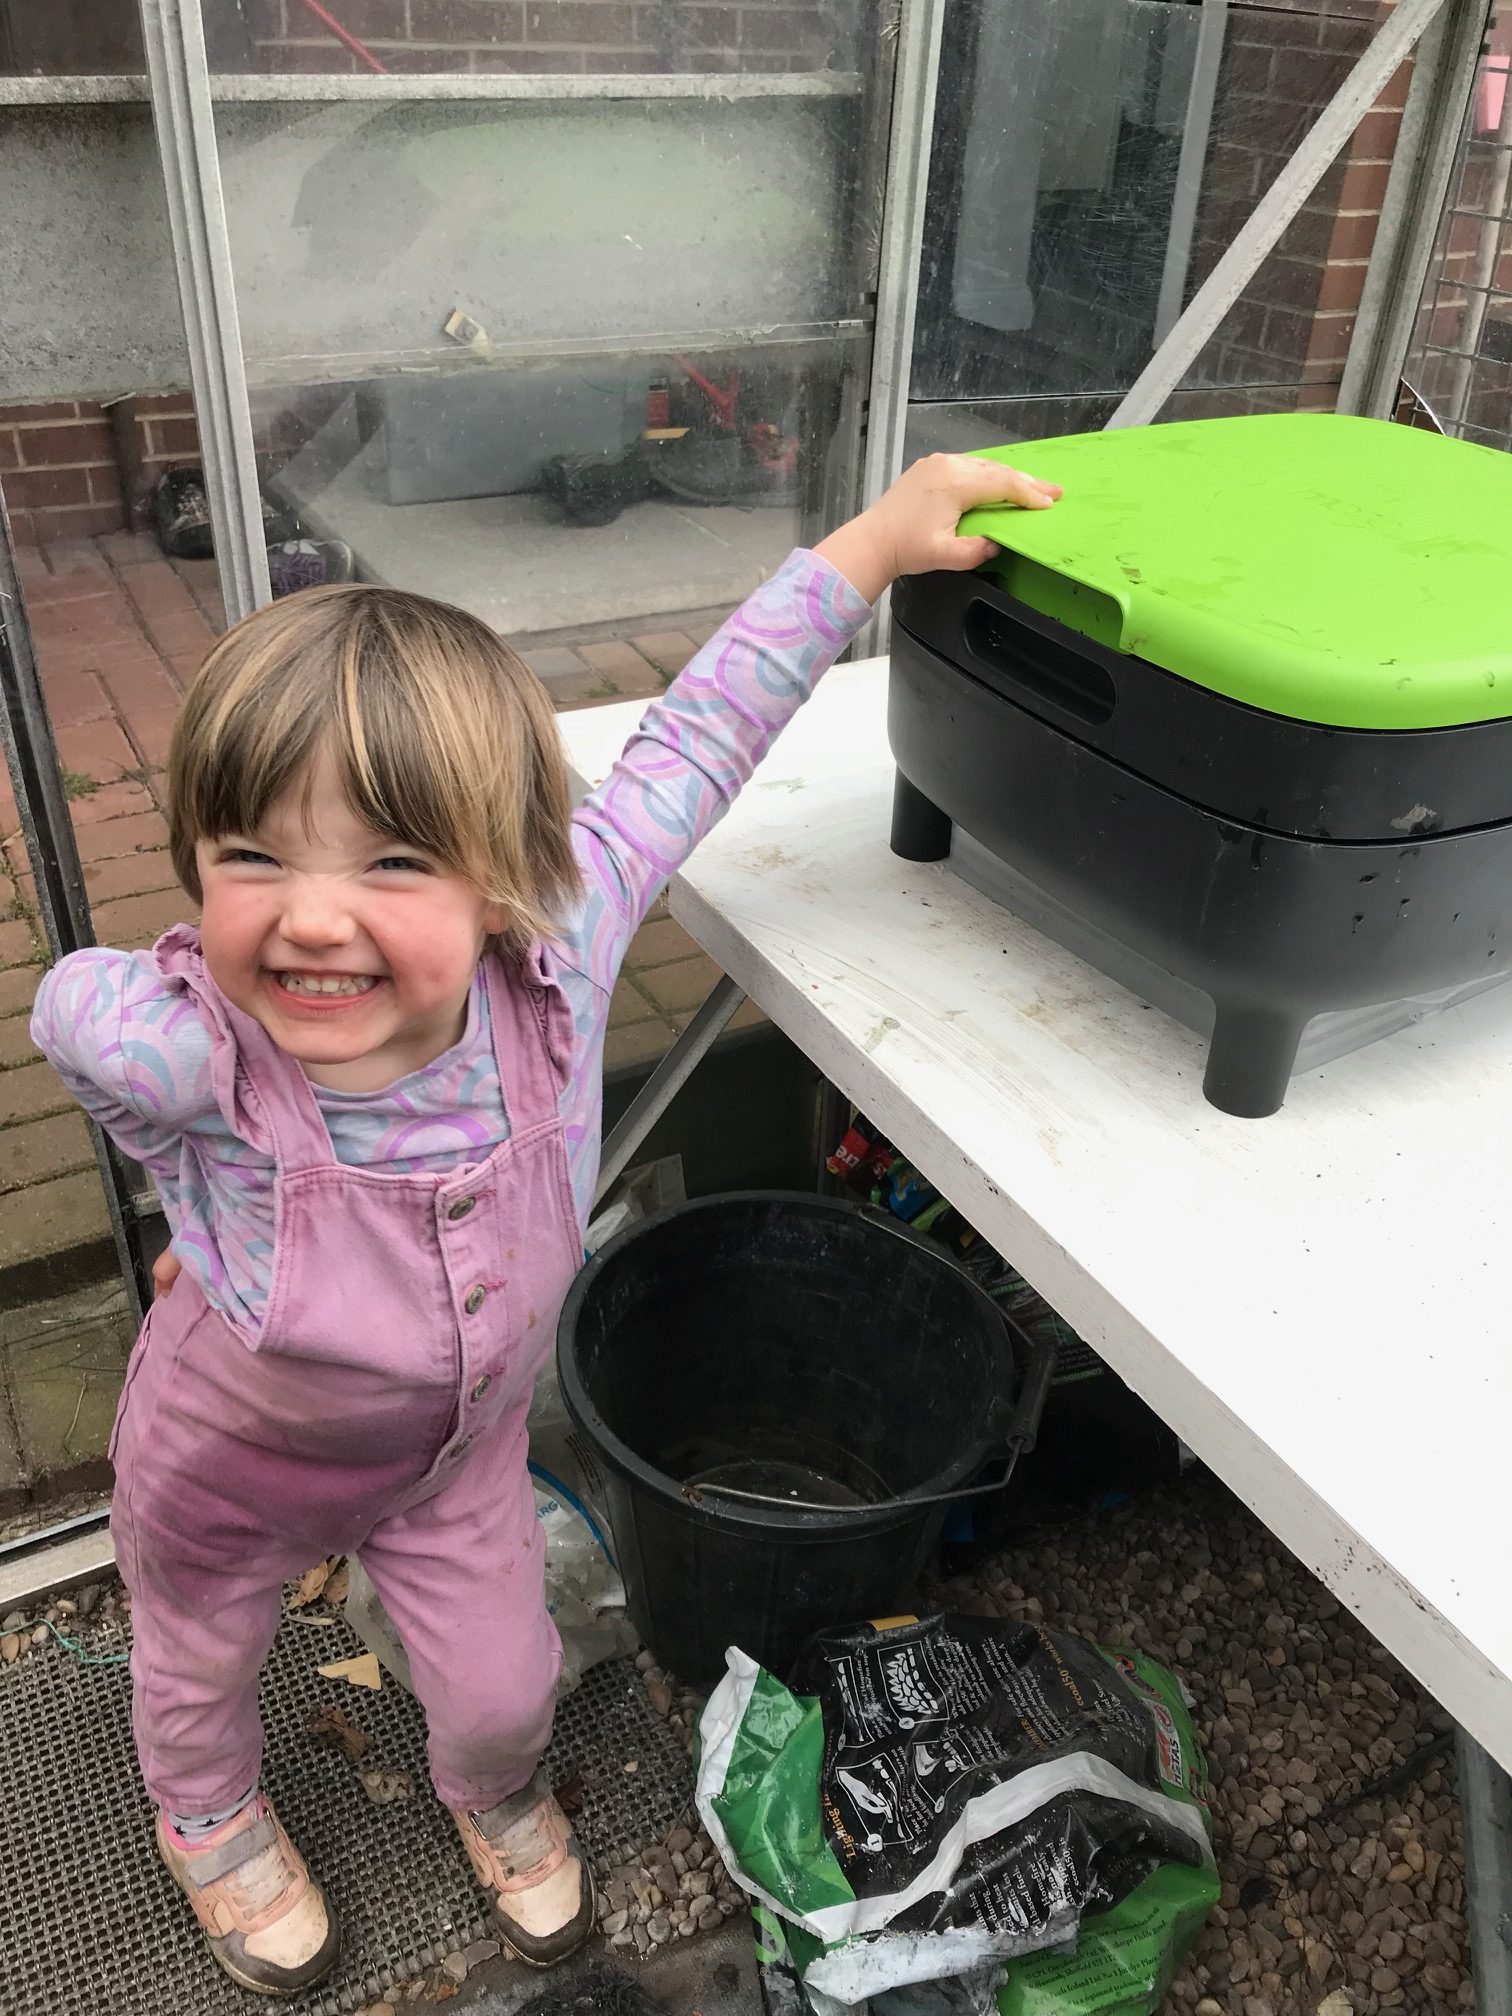
Then she sensibly washed her hands – which is when things went a bit wrong. As you can see from the photo, the worms and ants weren’t the only ones getting a bit wet!
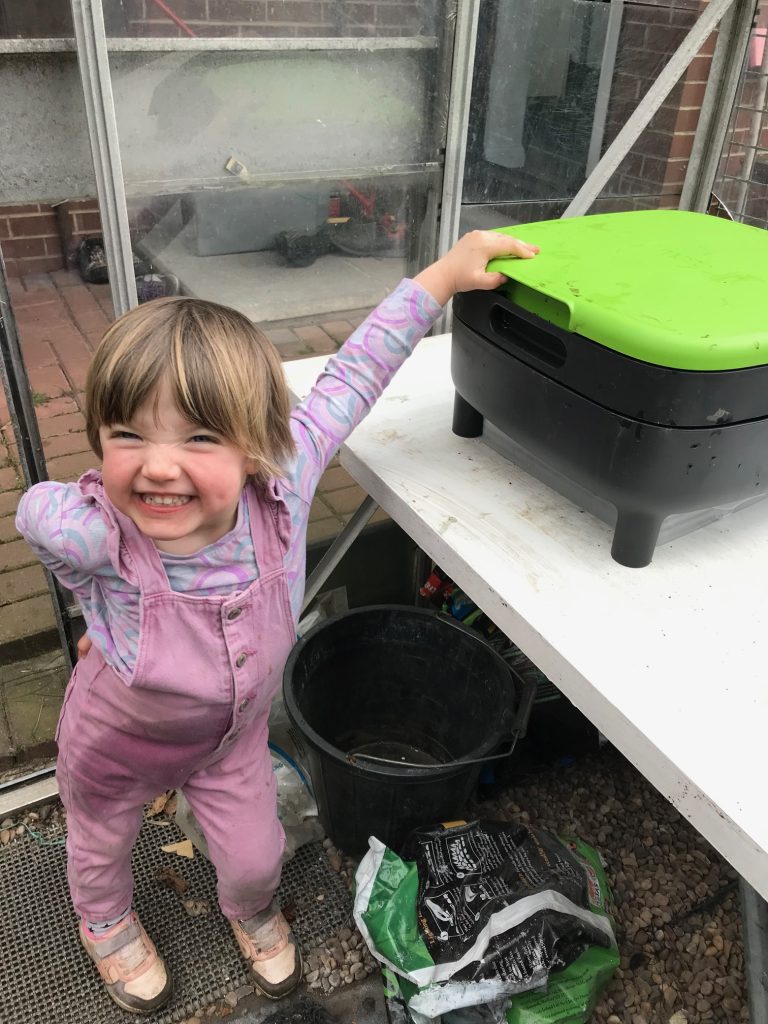
Maggie somehow got in the way of the water, whether on purpose or not who can say? It’s all in a day’s work for a two-year-old worm farmer.

For a joke I asked Maggie afterwards if she’d had ants in her pants; with an appalled look she informed me that, no, she hadn’t, because she was wearing a nappy. Fair enough. She thought for a second before adding that Grandma had ants in her pants though. You have to keep an eye on these grandmas.
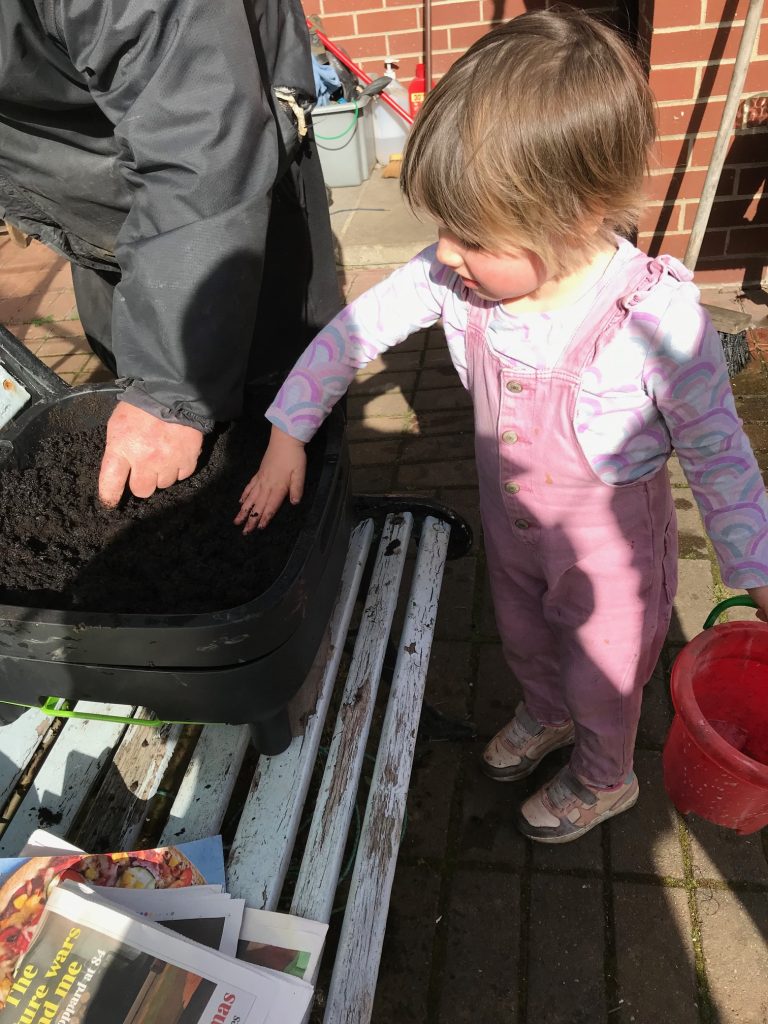
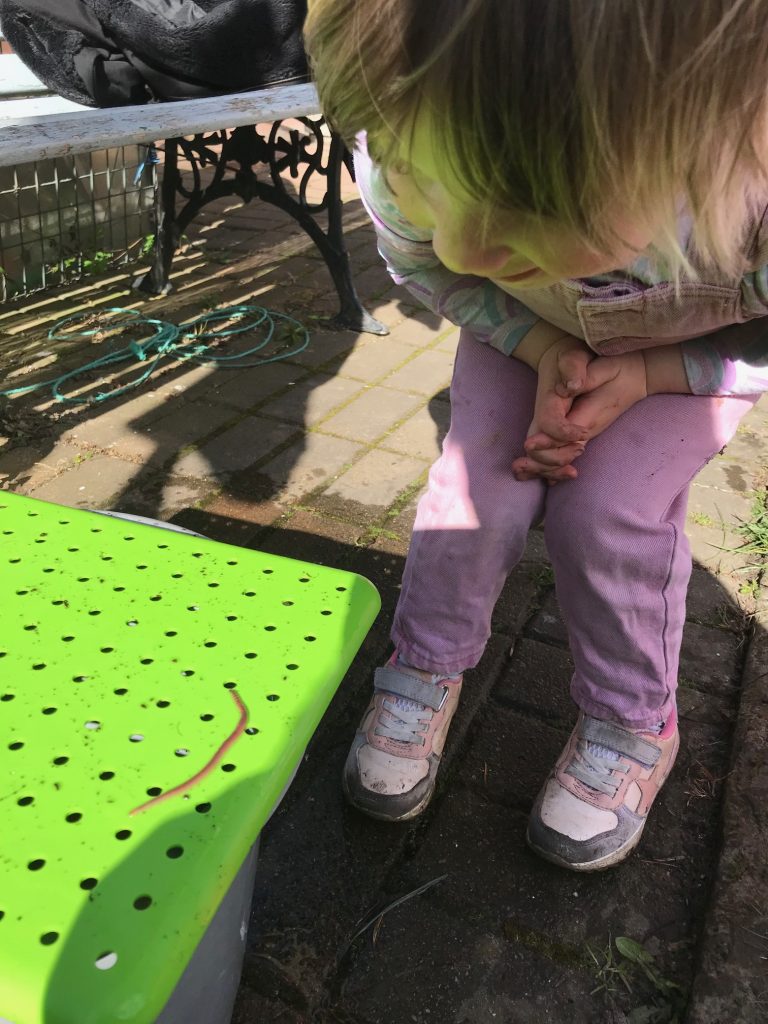
It’s fantastic to see that Maggie now loves worms. When she first watched her older brother Reggie looking after the worms she was a bit apprehensive and took a back seat but now she appreciates them for the wonderful work they do.

Keeping worms cool

It’s important that wormeries stay moist. In hot weather you can flush your worm farm with half a small bucket of water (5L) once a week to keep conditions moist. When doing this, replace the liquid collection tray with a container that will hold the sudden influx of water.

The moistened bedding sorted out the ants issue for Magdalena, but if you have a repeated problem you could follow this advice shared by wormery guru Mary Appelhof in her book Worms Eat My Garbage:

  • Set the legs of the worm farm in coffee cans with mineral oil or soapy water in the bottom. Any ants would get trapped in the oil or soapy water and would not be able to enter the wormery.  

And so to bedding

Worm bedding is a major component of a wormery. It has several functions, providing:

  •  moisture retention
  •  a medium in which worms can work
  •  a place to bury food waste

Bedding also provides a carbon source which will feed the worms; they will eventually consume the bedding as well as the food waste.

The bedding provided in the Maze Worm Farm is coconut coir, which is a great choice as it is clean, odourless, moisture-retaining, easy to prepare and worms thrive in it.

 Cocount coir, often called coco peat, has a fluffy soil-like texture. It comes compressed in a block that expands when placed in water. Because it has good water-retaining capacities, it can also be mixed with other bedding materials to aid water retention. Coir is a natural by-product of the coconut industry. In the past when coconuts were harvested for their meat and juice, the husk was considered waste until its many uses in horticulture were appreciated.

 In the first few days of setting up a new wormery it’s important that the worms acclimatise quickly and they find coco coir to be a hospitable environment thanks to its fluffy soil-like texture. Coconut coir will get your worm bin off to a great start but an established wormery should happily accommodate other freely available carbon sources.  

Other suitable bedding materials:

  • Shredded newspaper in strips 3-5cm wide. You can use a shredder or tear the strips by hand.
  • Leaf detritus from the bottom of a pile of decaying leaves, or compost.
  • Wood chips – some wormery enthusiasts report that these are excellent when mixed with leaves or other materials that are capable of holding moisture.  Wood chips provide bulk and create air spaces throughout the bedding. You can pick wood chips out when harvesting vermicompost from the wormery and reuse them.  

TOP TIP

It can be useful to add a handful or two of soil when initially preparing bedding. This helps to control moisture, acidity and texture as well as adding some grit to aid in breaking down food particles within the worm’s gizzard. It also introduces an inoculum of a variety of soil bacteria, protozoa and fungi which will aid the composting process.

Mary Appelhof is an inspiring champion for worm farming, describing it as a way to ‘save the world – in your own backyard’.

 In her book she says that through worm farming you will see mounds of waste converted to material you can use on your houseplants and in your garden.

‘You will enjoy healthier looking plants, better tasting vegetables and money in the bank.’

Let’s end with her wonderful description of the added value that worm farming provides.

‘Hopefully you’ll also gain a better appreciation of the intricate balance and interdependencies in nature. You will be treading more gently on the Earth.

As your gardens are enriched, so is your life and mine. You will have joined the worm-working adventurers who say, ‘Worms eat my garbage.’ Isn’t that a grand beginning to a task that needs to start somewhere? You, personally, can make it happen.’

Julie

Spare Parts