This is a complaint commonly heard across the UK, except perhaps in Wales, which has one of the best recycling rates in the world – currently nearly 66 per cent, with plans to bump this up to 70 per cent by next year.
But across the rest of the UK, recycling rates have plateaued at around 43 per cent in recent years.
A report to the House of Commons recently (December 2023) noted that there had been no improvement in recycling since 2011.
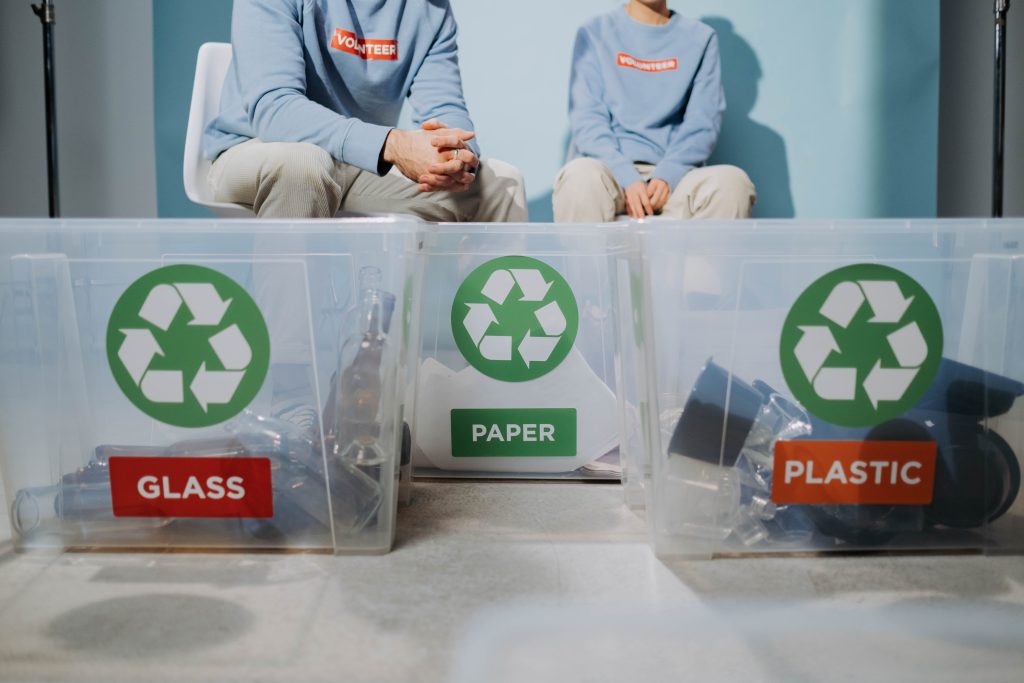
Although 90 per cent of households in the UK routinely recycle, most people don’t find it easy. Confusion around council rules doesn’t help, with at least 39 different bin regimes running across 391 different local authorities.
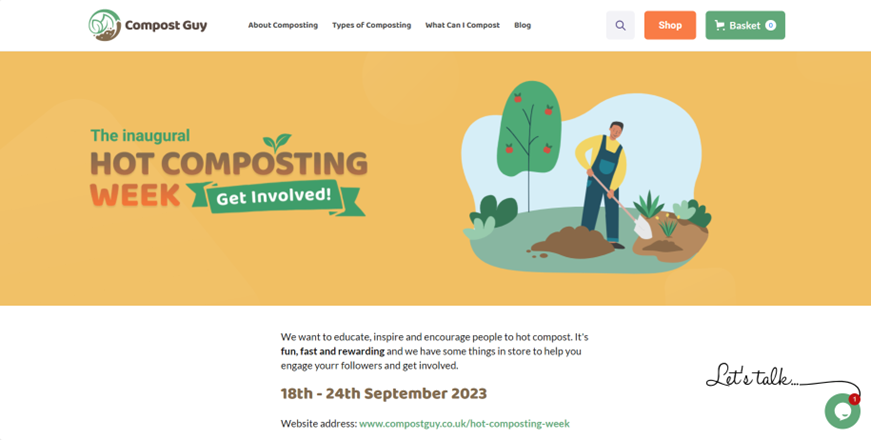
This postcode lottery is set to change within the next two years under the government’s Simpler Recycling plans. From the end of March 2026 all councils in England will be required to recycle the same materials and have a standard of three containers (bins, boxes or bags) – for general refuse (residual), mixed dry recycling and food waste.
There is now a list of items which all councils will recycle, including aluminium foil and certain types of plastic packaging. Similar measures will apply to businesses, hospitals, schools and universities, so people will be doing the same thing at home, work and school and will no longer need to check what their council will accept for recycling. The rules could also apply to places of worship, charity shops, prisons and hostels.
A game-changer in recycling will be the new rules governing extended producer responsibility (EPR), which mean producers of packaging will have to label their products to make it easier for people to know what can and can’t be recycled. They will also become responsible for the cost of recycling the packaging. To get ready for this, manufacturers of products such as Pringles, ketchup and toothpaste are upgrading production lines so that packaging will be fully recyclable.
It’s hoped that these initiatives will increase recycling rates to between 52-60 per cent by 2035.
Ready or not?
These are big changes, but will councils be ready? The report mentioned above stated that uncertainty is stopping businesses and local authorities from preparing for the changes. As a result, there is a risk that there will be insufficient facilities to deal with increased volumes of recycling, meaning more plastic could be sent to landfill than before.
Without the certainty of a long-term infrastructure plan, private sector companies are reluctant to invest in new recycling facilities.
One such company, Veolia – the French international waste giant – said this month that it wanted to spend more in the UK to divert waste for reuse but was put off by lack of clarity on policy.
Countries with the best recycling rates understand the importance of educating the public. Germany has achieved the best rates in the world – almost 69 per cent – thanks to information campaigns and simplified labels on packaging.

The best 16 councils for recycling in the UK are all in Wales. Pembrokeshire is top, with 73 per cent of household waste recycled. The Welsh school curriculum includes lessons on how food waste is converted into energy and schools organise trips to anaerobic digestion plants.
Dividing recycling into separate bins reduces contamination, such as cardboard getting wet from washed glass jars. Because uncontaminated waste is easier to recycle into higher-quality materials, councils get more money as a result. If people don’t know how to add items correctly to the right bins, the collected material is often heavily contaminated.
Recycling for profit
Part of the success in Wales is down to the public being well informed about the cost of contamination and the fact that their council can make money from the waste collected. Because every household has the same bins and separates the same materials, recycling is far less contaminated, which attracts companies that can recycle it for profit. Understanding this makes people far more likely to take care not to contaminate waste materials.
Insight into the cost came last year when Maidstone Borough Council in Kent launched a scheme to clarify what can and can’t be recycled by putting hangers on bins. This came after a two-month period in which contamination of recycling loads had cost taxpayers £25,000. Extra costs are incurred when contaminated loads are refused by the recycling centre.
If refuse collectors see that the wrong materials have been put into recycling bins they will not empty them – they place a sticker on the bin to say it is contaminated but don’t have time to let householders know what it is that has contaminated each individual bin.
Did you know:
- The council with the most waste collections in the country is Bristol with 13. It’s the only big English city to achieve above average recycling rates, with 46 per cent.
- According to WRAP (Waste and Action Resources Programme) more than half of the population miss opportunities to recycle common items.
- People under 35 dispose of more items incorrectly than older people. Councils with a higher median age have better recycling rates.
- The age group that recycles the most is 55 – 64-year-olds, who say they always recycle to the best of their ability.
- The most rural areas recycle almost 10 per cent more than urban areas on average.